Light to Light Walk 2 days


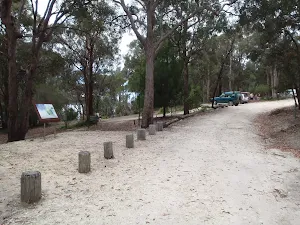

(0km) Ben Boyd car park → Boyd Tower Intersection


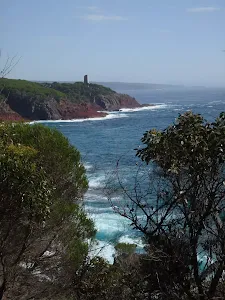
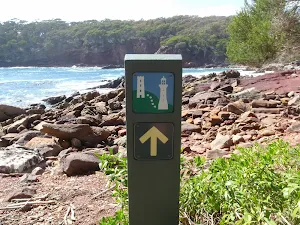
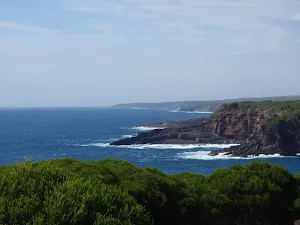
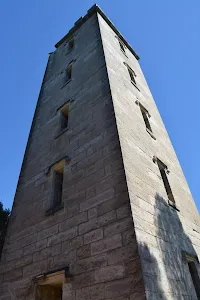
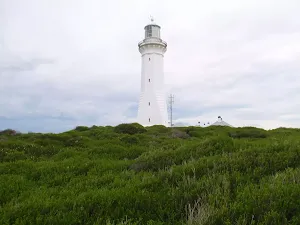
Boyds Tower
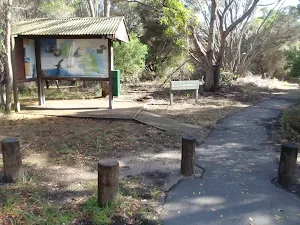
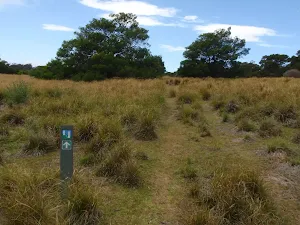
(0km) Ben Boyd Car park information sign → Red sands bay
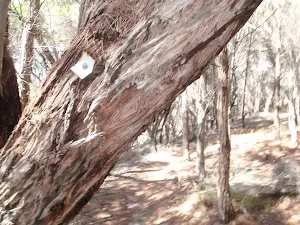
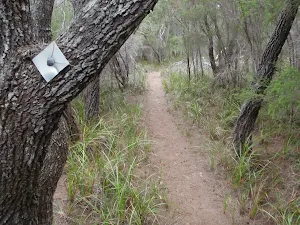
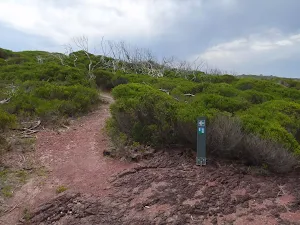
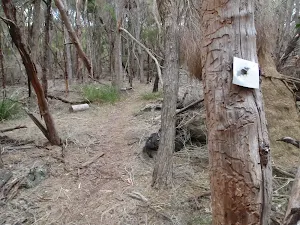
Continue straight: From the intersection, this walk heads along the track, keeping the the coast to the left. The track soon leads out of the heath and winds along the hillside, tending away from the coast (which disappears below the trees on the left). The walk then winds down into a gully with access to the rocks (below on your left). Rising up and out of the gully, the track winds across the hillside and then down into a rocky bay with an arrow marker. The walk continues across the red flat rock at the back of the bay, coming to the arrow marker[14] pointing inland, in the middle of the bay.
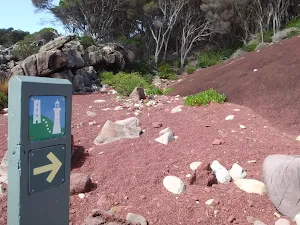
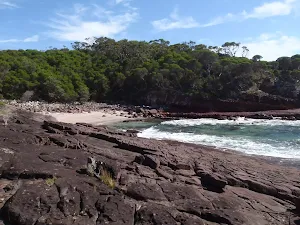
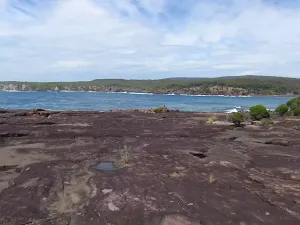
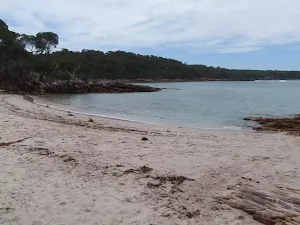
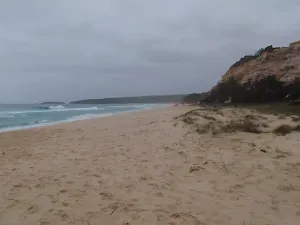
Red sands bay
(2km) Red sands bay → Int. Light to Light and Leather Jacket Pt Trks
(3km) Int. Light to Light and Leather Jacket Pt Trks → Int. Light to Light and Leather Jacket View Trks
Turn left: From the intersection, this walk follows track marker down the hill, towards the ocean. The track leads downhill to a signposted intersection.
Veer right: From the intersection, this walk follows the track marker past a white post, keeping the ocean and the other service trail to the left of the track. The walk continues along the service trail for a short time to a signposted intersection.
Continue straight: From the intersection, this walk follows the track marker, leaving the fork in the trails behind and heading down the slight hill towards the ocean. The track continues down the hill to a signposted intersection.
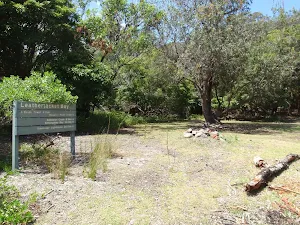
(4km) Int. Light to Light and Leather Jacket View Trks → Leatherjacket Bay
Leather Jacket Bay

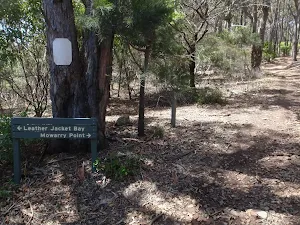
(5km) Leatherjacket Bay → Mowarry Bay car park
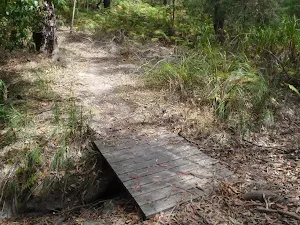
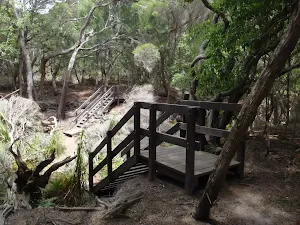
Turn left: From the intersection, this walk follows the sign to 'Mowarry Point' up the hill. The track winds up the hill to continue across the ridge, with the track soon heading down the hill over large speed bumps. The walk comes to a small bridge over a creek bed, after which it leads up a hill, tending left to head across the flat to an unsignposted intersection on the left.
Continue straight: From the intersection, this walk heads down the hill, leaving a track behind on the left. This walk leads down into a saddle, to rise up again along a section of yellow dirt service trail. The track continues to undulate and wind for some time, with views of the ocean appearing on the left of the track under the trees. The track then leads down the hill, tending right for some time to the signposted cul-de-sac at Mowarry car park.
(7km) Mowarry Bay car park → Mowarry Creek Sth bank
Turn right: From the intersection, this walk follows the track marker down the stairs and upstream of the creek, to turn left across the rocky creek bed. The walk heads up the stairs, leading to a service trail.
(7km) Mowarry Creek Sth bank → Mowarry lookout
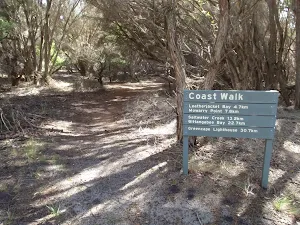
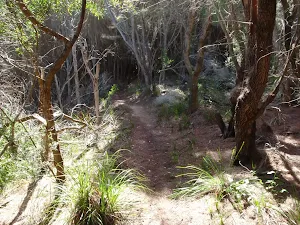
Continue straight: From the intersection, this walk heads up the hill, keeping the ocean below on the left. The track winds up the hillside to a large signpost 'Mowarry Point'. This walk follows the arrow to 'Saltwater Creek 5.4km' into an open grassland, following numerous track markers through the open grass area and patches of heath. The walk soon turns right, up the hill, keeping the ocean well below to the left of the track. The track then enters and winds through an area of heath. Many trees cover the tracks and trodden paths in this part of the walk. The track passes through these trees to a clearing with views towards Boyd Tower and waves crashing below.
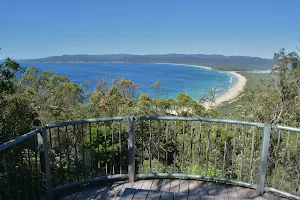
Mowarry Point lookout
(9km) Mowarry Lookout → Red rocks
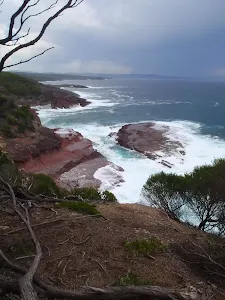
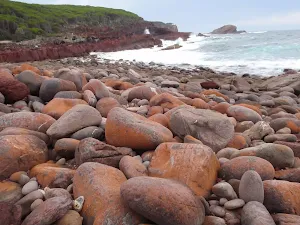
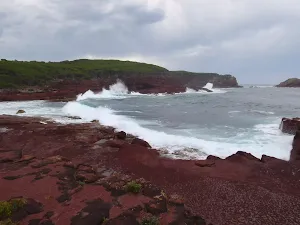
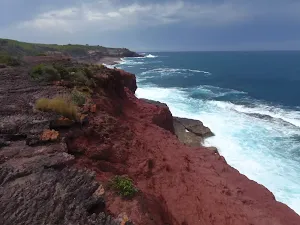
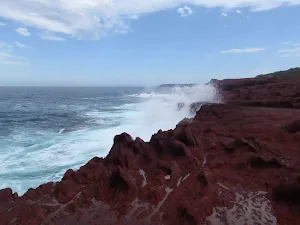
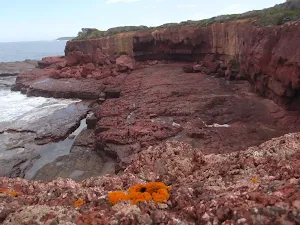
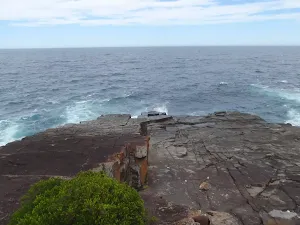
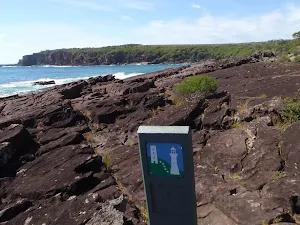
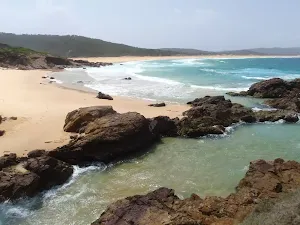
Veer right: From the signpost, the walk heads towards the next arrow sign within sight, keeping the ocean on the left. The walk crosses the pebbly beach to the arrow marker, where another can be seen further along the coast on the red rock shelf. The walk meanders across the rock shelf to the track marker, which points into the bush. The walk follows this arrow away from the coast and up the stairs into the heath, where the track winds for quite some time through the heath and then bush. The track then heads back through the bush, down onto a red rock platform above the sea. The walk continues down the rock platform following the arrow signs, with the sea on the left of the track, coming to be opposite a set of stairs (on the right of the track).
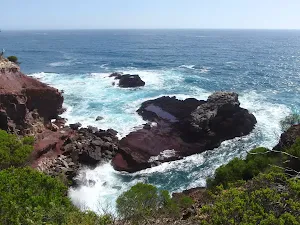
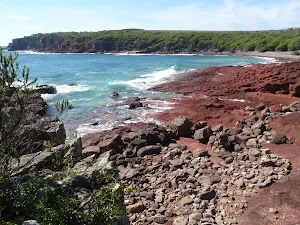
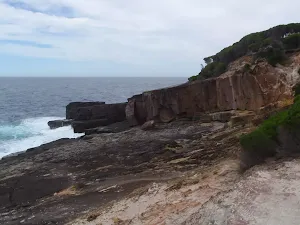
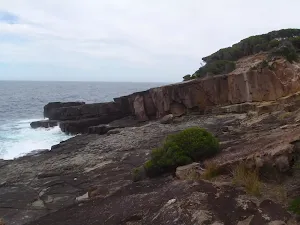
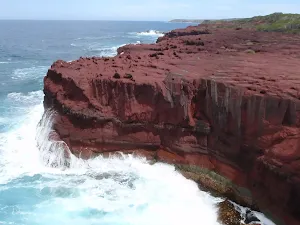
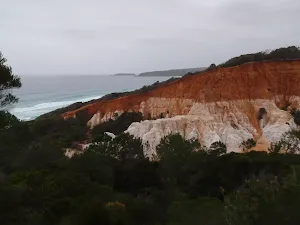
Red Cliffs
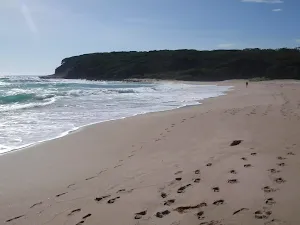
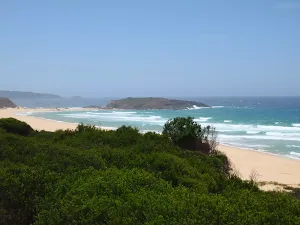
(12km) Red Rocks → Saltwater Creek Beach Nth
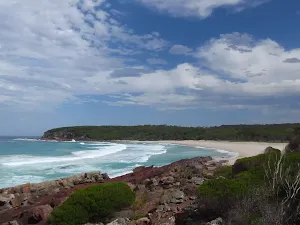
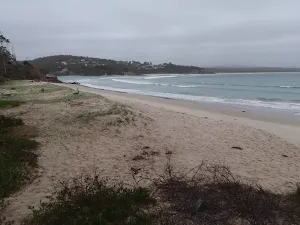
Saltwater Creek Beach
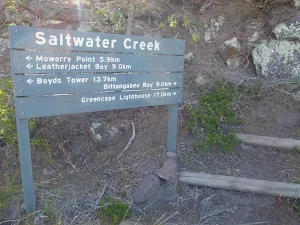
(13km) Saltwater Creek Beach Nth → Saltwater Creek Campsite Information Sign
Saltwater Creek campground
(13km) Saltwater Creek Campsite Information Sign → Saltwater Creek Beach Nth
(14km) Saltwater Creek Beach Nth → Saltwater Creek Beach Sth
(14km) Saltwater Creek Beach Sth → Hegartys Bay Camp
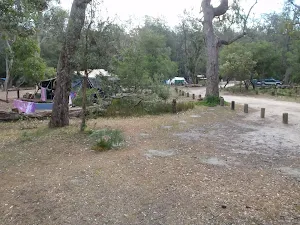
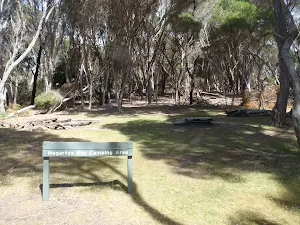
Continue straight: From the beach, this walk heads along the rock platform following the arrow markers. The walk winds around the rock features, then turns away from the ocean and lead up stairs into the bush behind the bay. The track winds above the bay (below on the left) for a short time, to then pass a fireplace and seats, before coming to a signposted clearing 'Hegartys Bay Camping Area' with bench seats and a fireplace.
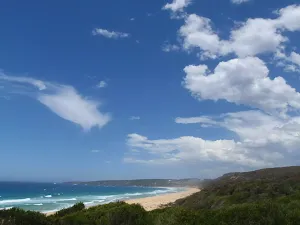
Hegartys Bay

Hegartys Bay camping area
End of day 1
(18km) Hegartys Bay Camp → Black cliffs south
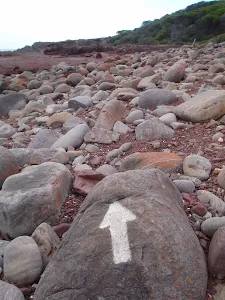
Continue straight: From the intersection, this walk follows the cairns and track markers along the rock, with the ocean to the left. The walk follows the rockshelf down to an area where it starts to slope down into the sea - this is marked by numerous cairns and an arrow on a boulder.
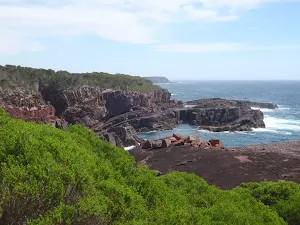
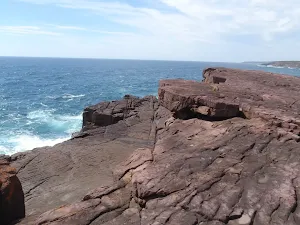
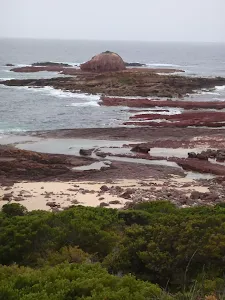
Black cliffs
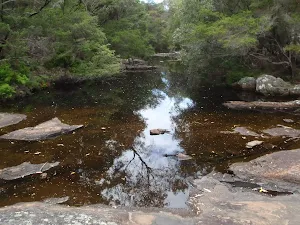
(20km) Black cliffs south → Bittangabee Creek
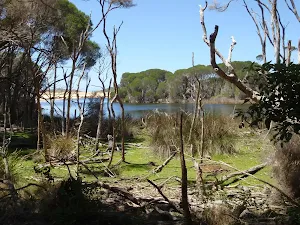
Bittangabee Creek
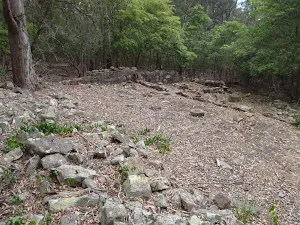
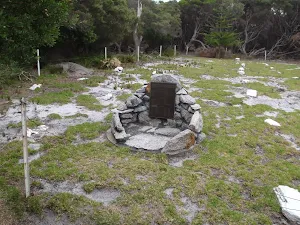
(22km) Bittangabee Creek → Imlay House Ruins
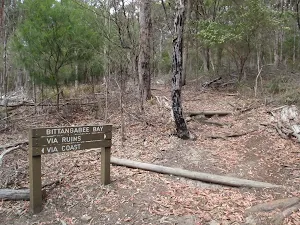
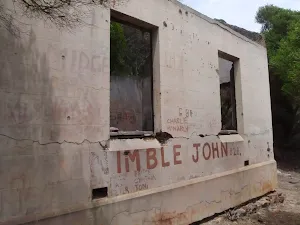
Veer right: From the intersection, the walk follows the sign 'Via Ruins' up the hill. The track tends right as it climbs, soon winding up to a large black wooden platform. This platform overlooks the ruins.
Imlay House
(22km) Imlay House Ruins → Bittangabee Bay Picnic area
Veer right: From the intersection, the walk heads down the hill towards the water. The track goes across a rocky creek bed to rise up the other side of the gully. The walk continues up the hill to soon find formed log road barriers on the right and then a signposted intersection and picnic area.
(23km) Bittangabee Bay Picnic area → Bittangabee Beach
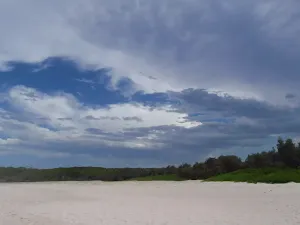
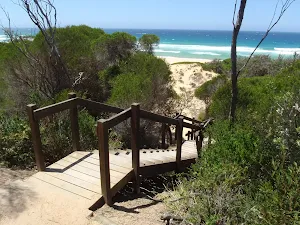
Bittangabee Bay Beach

(23km) Bittangabee Bay Picnic Area → Int. Light to Light Trk and Bittangabee Storehouse Trk
Turn left: From the intersection, the walk follows the sign for 'Walking Track' (not the same direction as the 'Beach' arrow) down the hill. The track leads down the hill a short way to an arrow track marker.
(23km) Int. Light to Light Trk and Bittangabee Storehouse Trk → Int. Light to Light Trk and Bittangabee Storehouse Trail
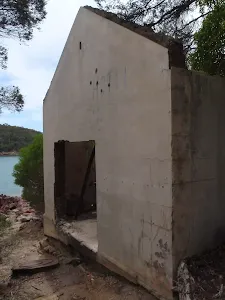
Turn right: From the intersection, the walk leads up the hill, keeping the bay on your left and the storehouse ruins behind on the right. The track veers right, up the hill to a signposted intersection. At the end of this side trip, retrace your steps back to the main walk then Turn left .
Bittangabee Storehouse ruins
(23km) Int. Light to Light Trk and Bittangabee Storehouse Trk → Int. Light to Light Trk and Bittangabee Storehouse Trail
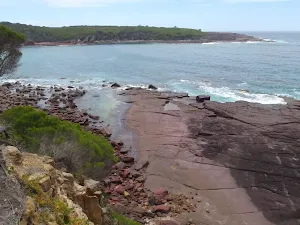
(23km) Int. Light to Light Trk and Bittangabee Storehouse Trail → Bittangabee Sth Headland Lookout
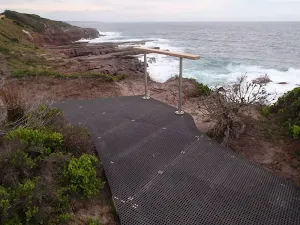
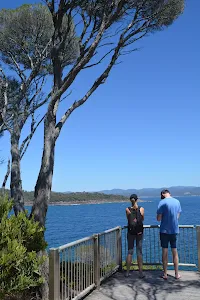
Southern Bittangabee Point lookout
(23km) Bittangabee Sth Headland Lookout → Int. Light to Light Walk and Pulpit Rock Rd Access
Continue straight: From the top of the stairs, this walk leads upstream of the creek, which is below on the right. The track follows this creek for some time, tending left away from it into the bush at times. The track winds slightly uphill for a while, then winds downhill to cross the rocky surface of another creek. The track heads up the hill and over the ridge before heading down to another creek bed. The track then leads up the hill to the cul-de-sac of a service trail.
(27km) Int. Light to Light Walk and Pulpit Rock Rd Access → Int. Light to Light Trk and Pulpit Rock Rd
Veer right: From the intersection, this walk follows the track marker along the hillside, keeping the ocean on the left of the track. The track passes a few overgrown service trails on either side, as it continues on to the signposted intersection with the main service trail.
(27km) Int. Light to Light Trk and Pulpit Rock Rd → Pulpit Rock
Continue straight: From the intersection, the walk heads down the stairs just near the lookout. The stairs lead onto the rock shelf, with stunning views to the north (left) and of waves crashing onto the rocks below. At the end of this side trip, retrace your steps back to the main walk then Turn left.
Pulpit Rock
(27km) Int. Light to Light Trk and Pulpit Rock Rd → Ly-ee-moon Graveyard
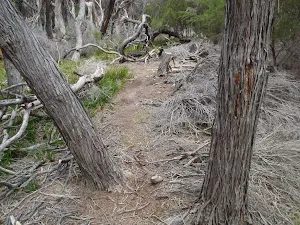
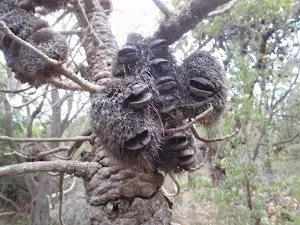
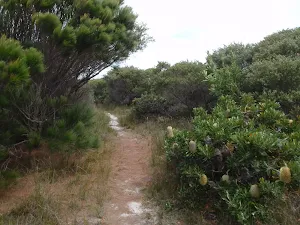
Continue straight: From the intersection, this walk heads through the heath following the arrow marker, and keeping the ocean on the left of the track. The track leads through the heath and Banksias for a short time, coming to a slightly overgrown service trail.
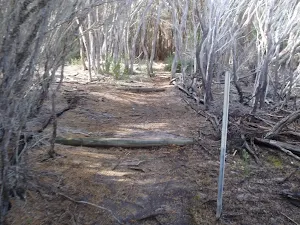
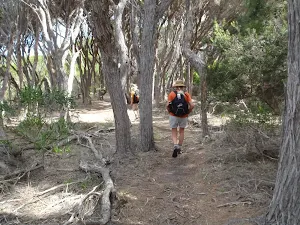
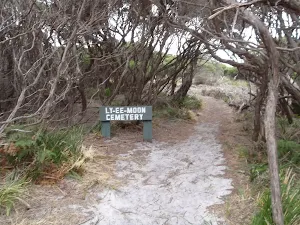
Continue straight: From the intersection, this walk keeps the ocean on the left of the track as it winds through the heath and the Banksias. The track soon becomes surrounded by melaleuca trees, which have many fallen branches. The track continues to a signposted intersection for 'Ly-ee-moon Cemetery'.
Ly-ee-moon Graveyard
(30km) Ly-ee-moon Graveyard → Green Cape Lighthouse Car park
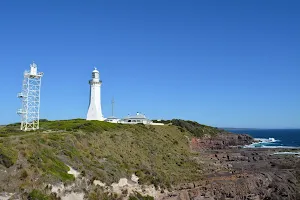
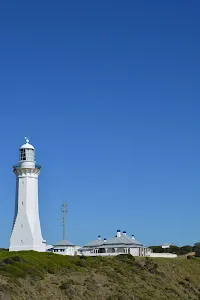
Green Cape
(30km) Green Cape Lighthouse Car Park → Enjoying Green Cape int.
(30km) Enjoying Green Cape int. → Green Cape Lighthouse Telegraph Station
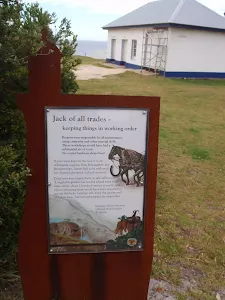
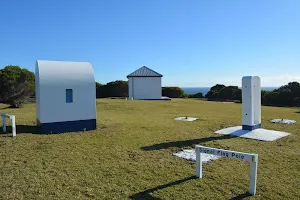
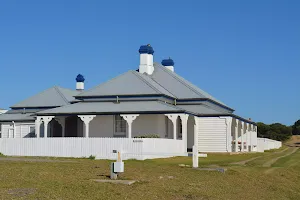
Green Cape Telegraph Station
Cape Lighthouse Keepers
(30km) Green Cape Lighthouse Telegraph Station → Green Cape Lighthouse entry gate
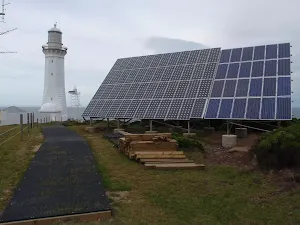
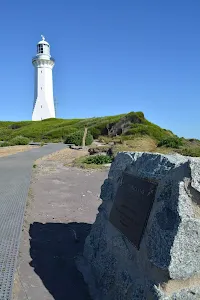
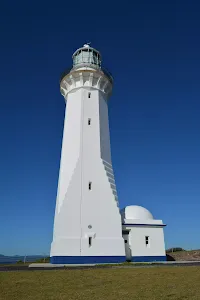
Green Cape Lighthouse
(30km) Green Cape Lighthouse entry gate → Green Cape Lookout


Continue straight: From the modern lighthouse tower, this walk follows the boardwalk[40] downhill around the metal tower. Ater about 15m the walk leads past the 'Wildlife navigates the coast safely' information sign[41], then continues mostly downhill for another 70m to the fenced lookout.
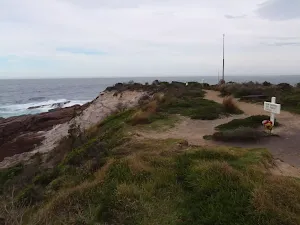
Green Cape Lookout
(31km) Green Cape Lookout → Green Cape Lighthouse Car Park
Continue straight: From the metal lighthouse tower, this walk follows the boardwalkgently uphill for about 45m to come to the corner of the fence for the original Green Cape Lighthouse tower[47] (there is a picnic tableabout 30m over the grass to the right[48] here). The walking continues along the boardwalk for another 25m to the gate[49] beside the Green Cape Lighthouse tower[50].
Continue straight: From the gate, the walk heads up the hill towards the large solar panels[51]. This walk keeps the houses and fence on the right undulates along the fence line to come to the signposted 'Signal Flag Locker' building[52] at the old 'Telegraph Station'.
Continue straight: From the beside the Green Cape Lighthouse Telegraph Station[53], this walk follows the fence (keeping the fence and clearing to the right) along the boardwalk as it winds into the heath to then find a 3-way intersection and a large sheltered 'Enjoying Green Cape' information sign[54].
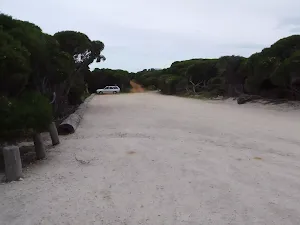
Continue straight: From the intersection, this walk heads gently downhill along the boardwalk with a handrail as it winds down to the dirt car park[55] at the end of Green Cape Lighthouse Rd.
Maps for the Light to Light Walk 2 days walk
You can download the PDF for this walk to print a map.
These maps below cover the walk and the wider area around the walk, they are worth carrying for safety reasons.
| Narrabarba | 1:25 000 Map Series | 88232N NARRABARBA | NSW-88232N |
| Kiah | 1:25 000 Map Series | 88231S KIAH | NSW-88231S |
| Eden | 1:25 000 Map Series | 88231N EDEN | NSW-88231N |
| Green Cape | 1:100 000 Map Series | 8923 GREEN CAPE | 8923 |
| Eden | 1:100 000 Map Series | 8823 EDEN | 8823 |
Cross sectional view of the Light to Light Walk 2 days bushwalking track
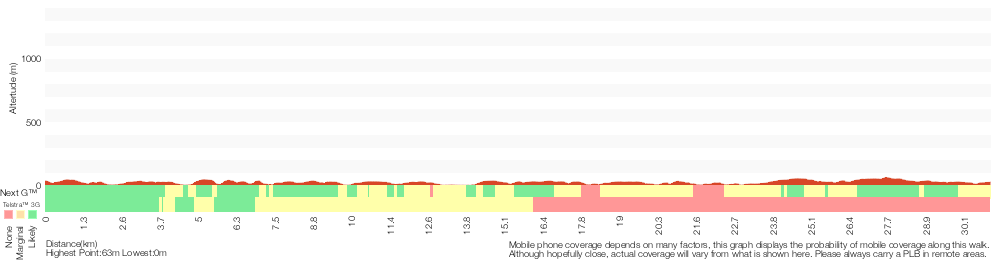
Analysis and summary of the altitude variation on the Light to Light Walk 2 days

Overview of this walks grade – based on the AS 2156.1 – 2001
Under this standard, a walk is graded based on the most difficult section of the walk.
| Length | 30.9 km | ||
| Time | 2 Days | ||
| . | |||
Grade 4/6 Hard track | AS 2156.1 | Gradient | Very steep (4/6) |
| Quality of track | Rough track, where fallen trees and other obstacles are likely (4/6) | ||
| Signs | Minimal directional signs (4/6) | ||
| Experience Required | No experience required (1/6) | ||
| Weather | Storms may impact on navigation and safety (3/6) | ||
| Infrastructure | Limited facilities (such as cliffs not fenced, significant creeks not bridged) (4/6) |
Some more details of this walks Grading
Here is a bit more details explaining grading looking at sections of the walk
Gradient
20km of this walk has short steep hills and another 4.8km has gentle hills with occasional steps. Whilst another 4.7km is very steep and the remaining 1.3km is flat with no steps.
Quality of track
19km of this walk follows a formed track, with some branches and other obstacles and another 11km follows a rough track, where fallen trees and other obstacles are likely. Whilst another 550m follows a clear and well formed track or trail and the remaining 520m follows a smooth and hardened path.
Signs
17km of this walk has directional signs at most intersection and another 10km has minimal directional signs. The remaining (3.9km) is clearly signposted.
Experience Required
This whole walk, 31km requires no previous bushwalking experience.
weather
Around 28km of this walk is not usually affected by severe weather events (that would unexpectedly impact safety and navigation), whilst the remaining 3.2km is affected by storms that may impact your navigation and safety.
Infrastructure
15km of this walk has limited facilities (such as not all cliffs fenced) and another 13km has limited facilities (such as cliffs not fenced, significant creeks not bridged). The remaining (3km) is close to useful facilities (such as fenced cliffs and seats).
Similar walks
A list of walks that share part of the track with the Light to Light Walk 2 days walk.
Pulpit Rock
110 m Return, 10 mins

Hard track
Bittangabee Bay carpark to beach
180 m Return, 5 mins
Moderate track
Ly-ee-moon Graveyard
490 m Return, 30 mins

Easy track
Boyd Tower
582 m Return, 15 mins
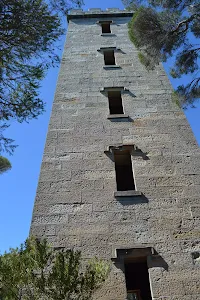
Very easy
Bittangabee Bay picnic area to the storehouse
715 m Circuit, 20 mins
Hard track
Twofold Bay Lookout via Boyd Tower
764 m Return, 20 mins
Very easy
Green Cape Lighthouse and Lookout
826 m Return, 30 mins
Easy track
Bittangabee Bay to Southern point lookout
954 m Return, 30 mins
Moderate track
Bittangabee Bay Imlay House loop
1.1 km Circuit, 30 mins

Moderate track
Bittangabee Bay to Bittangabee Creek
1.8 km Return, 45 mins
Moderate track
Saltwater Beach to Red Cliffs
3.3 km Return, 1 hr 30 mins
Moderate track
Green Cape to Pulpit Rock
3.8 km One way, 1 hr 30 mins
Hard track
Boyd Tower to Red sands Bay
4.9 km Return, 2 hrs
Hard track
Bittangabee Bay picnic area to black cliffs
5.2 km Return, 2 hrs
Hard track
Bittangabee Bay to Pulpit Rock
5.3 km One way, 2 hrs
Hard track
Bittangabee Bay to Green Cape Lighthouse
8.5 km One way, 3 hrs
Hard track
Saltwater Creek campsite to Mowarry Point
8.5 km Return, 3 hrs
Hard track
Saltwater Creek to Mowarry Point
8.5 km Return, 3 hrs
Hard track
Mowarry Bay to Red Cliffs
8.8 km Return, 3 hrs 30 mins
Hard track
Saltwater Creek to Bittangabee Bay
9.1 km One way, 3 hrs 30 mins
Hard track
Bittangabee Bay to Hegartys Bay
9.1 km Return, 3 hrs 30 mins
Hard track
Boyd Tower to Leather Jacket Bay
9.3 km Return, 3 hrs 30 mins
Hard track
Saltwater Creek to Hegartys Bay
9.8 km Return, 3 hrs 30 mins
Hard track
Boyd Tower to Saltwater Creek
13.4 km One way, 5 hrs
Hard track
Boyd Tower to Mowarry Point Lookout
18.3 km Return, 7 hrs

Hard track
Light to Light Walk 3 days
30.9 km One way, 3 Days
Hard track
Other Nearby walks
A list of walks that start near the Light to Light Walk 2 days walk.
Pinnacles car park to Long Beach
702 m Return, 20 mins
Hard track
The Pinnacles Loop
1.1 km Circuit, 30 mins
Moderate track
Disaster Bay Lookout
52 m Return, 10 mins
Easy track
Severs Beach
1.4 km Return, 30 mins

Easy track
Haycock Point
4.8 km Return, 2 hrs
Hard track
Barmouth Beach
360 m Return, 15 mins
Hard track
Rock Arch
1.1 km Return, 30 mins

Moderate track
North Tura Beach
316 m Return, 10 mins
Moderate track
North Tura Beach loop
471 m Circuit, 15 mins
Moderate track
North Tura Beach to Bournda Lagoon
3.5 km One way, 1 hr 15 mins
Hard track
North Tura car park to Bournda Island
2.3 km Return, 45 mins
Hard track
North Tura Lookout
124 m Return, 5 mins
Very easy
Plan your trip to and from the walk here
The Light to Light Walk 2 days walk starts at the Ben Boyd Car park information sign (gps: -37.104513, 149.95119)
The Light to Light Walk 2 days ends at the Green Cape Lighthouse Car Park (gps: -37.259525, 150.04796)
Weather Forecast
This walk starts in the South Coast weather district.
A detailed forecast for this walk isn't available yet.
Current Alerts
Live alerts aren't available for this walk. Check the NPWS website for closures and the RFS for current fire danger.
Park Information
Ben Boyd National Park
Ben Boyd National park is on the NSW South Coast, near Eden. The park was named and established in 1971, in the honour of Benjamin Boyd (1801-1851). Ben Boyd National park protects a wonderful section of coast line from Pambula to Green Cape, split into two distinct sections, one north of Eden and the other south. The park is well known for its contrasting red rocks, whale sighting, Boyd Tower, Green Cape Lighthouse and associated history. Ben Boyd National park offers some great insights into recent European history, Indigenous occupation and natural history. The park provides two campsites some other great recreational experiences.
Comments
Short URL: http://wild.tl/ltlw2d