Wondabyne to Mooney Mooney Creek Trackhead
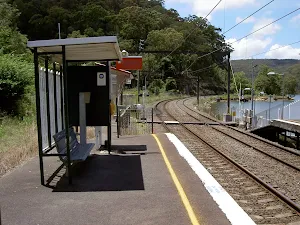


Wondabyne
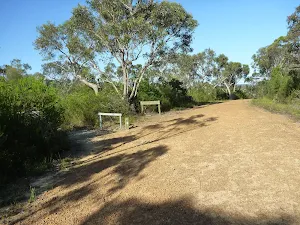
(0km) Wondabyne Station → Clearing above Wondabyne Station
(0km) Clearing above Wondabyne Station → Eastern end of the Pindar Cave Track
(1km) Eastern end of the Pindar Cave Track → Int of GNW and Wondabyne Station tracks
(2km) Int of GNW and Wondabyne trail → Int of GNW and Gosford Rifle Range trail
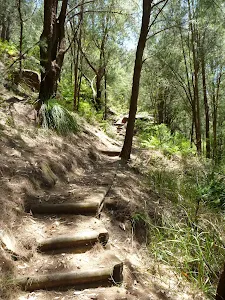
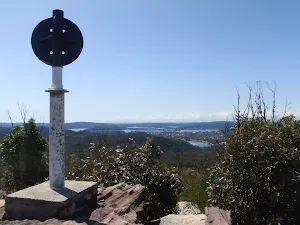
(3km) South end of Scopas Peak Track → Scopas Peak
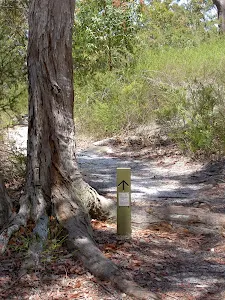
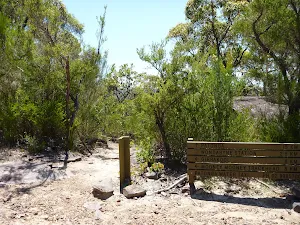
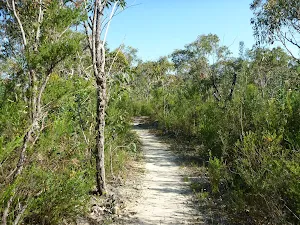
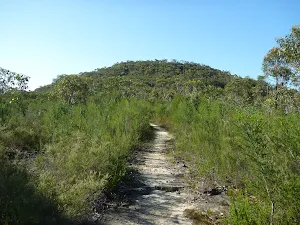
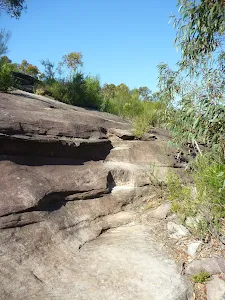
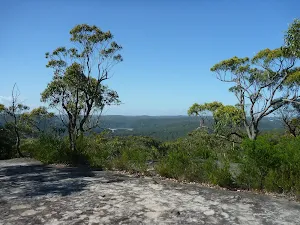
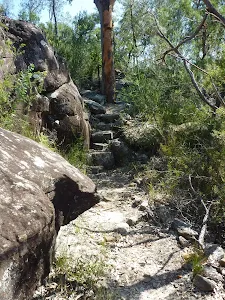
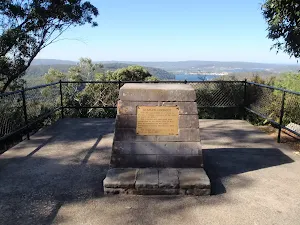
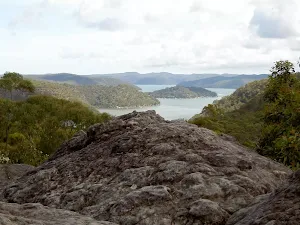
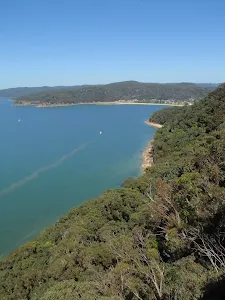
Continue straight: From the Great North Walk intentions book[31], after leaving your comments, this walk heads north, gently up along the clear track[32]. The track gently undulates along this ridge for about 750m, leading across a long sandy saddle[33] to the base of Scopas Peak. Here the walk climbs steeply for about 230m, stopping occasionally to enjoy the view, up the series of rocks with cut steps[34] and past a few rock walls[35]. Near the top of this climb, the track bends left to lead up to a view point just to the west of Scopas Peak[36].
(4km) Scopas Peak → Tributary Crossing
(7km) Tributary Crossing → Int of Patonga Ferry and Girrakool tracks
(8km) Int of Patonga Ferry and Girrakool tracks → Camp Kariong
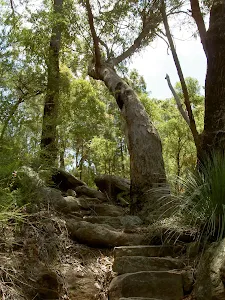
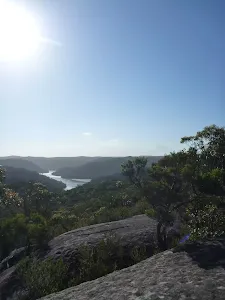
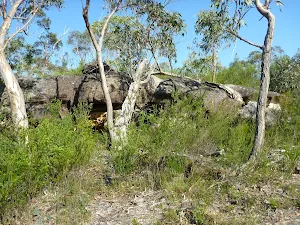
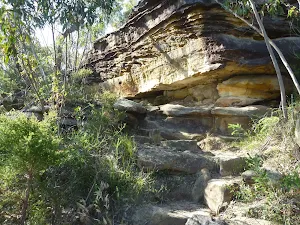
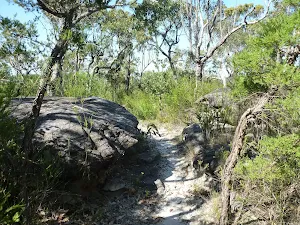
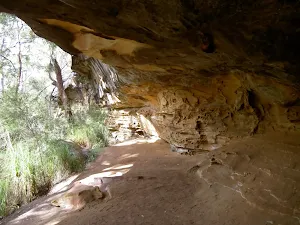
Continue straight: From the lookout, this walk heads up the hill initially keeping the large gully to the right. The track soon turns left and heads to the top of the hill and passes a large and interesting monolithic rock. About 60m after this rock the track leads to another similar rock with a large cave just to the left of the track.
Continue straight: From the cave, this walk heads north through the cleft in the rock. The clear track soon passes another rock wall then comes to an intersection at the base of the timber staircase.
Veer right: From the intersection, the walk heads up the wooden staircase and along the track for a little while, until it comes to a three-way intersection and a 'Girrakool' sign.
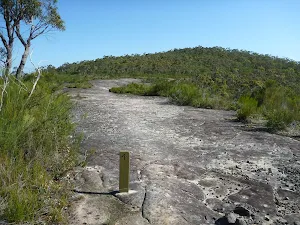
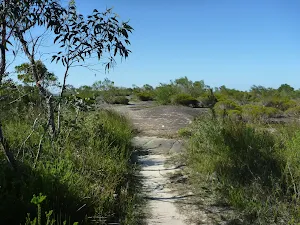
Turn right: From the intersection, this walk follows the eroded track east distinctly uphill away from the main valley, through the dense heath. After about 60m the track leads up to a small rock platform where the track bends a little to the right. The track continues uphill for another 500m, over a few more smaller rock platforms, flattening out the higher it climbs to come to an intersection with a faint track (on the left, that leads to Langford Dr), and a clearer track (ahead that leads to Camp Kariong).
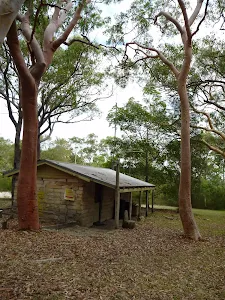
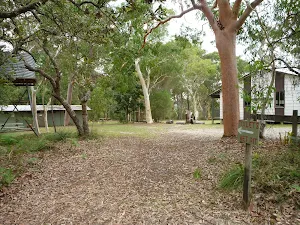
Continue straight: From the intersection, this walk follows the Camp Kariong track south east along the flat clear track[64]. After about 80m the track leads through the property boundary marked with some star pickets and a 'Scout Camp Kariong' sign[65]. This walk continues along the track for just over 100m to come to the edge of a large clearing, where a 'Girakool' sign points back along the track[66]. Here the walk tends left and gently up to pass alongside the white 'The Chapman Centre'[67] building (the amenities block[68][69][70] is now down to the right). Here the walk veers a little more left to head past the 'Baden Powell Park' sign[71] and follow the wide campsite track. The track leads past a series of signposted named and numbered campsites for almost 250m where the track narrows just past 'Site 7 Kenya' to then cross Rat Gully creek on a foot bridge[72]. Just after crossing this bridge, 'Martins Crossing', this walk comes to a small clearing with a 'Camp Kariong' map[73] at the gated main entrance to the Campsite[74]. (Along the driveway to the right is the 'Wardens Residence and office'.) At the end of this side trip, retrace your steps back to the main walk then Turn right.
Camp Kariong
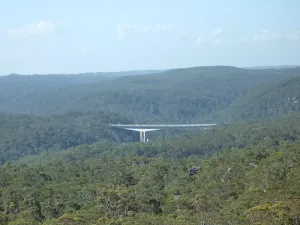
(8km) Int of Patonga Ferry and Girrakool tracks → Phil Houghton Bridge
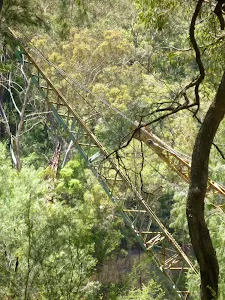
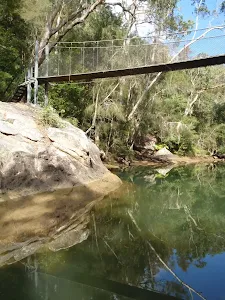
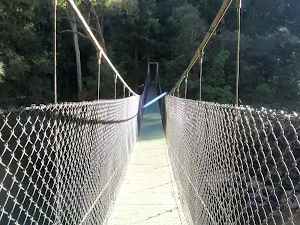
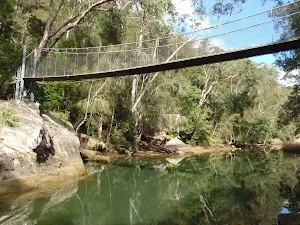
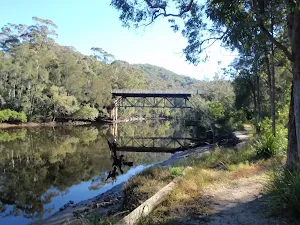
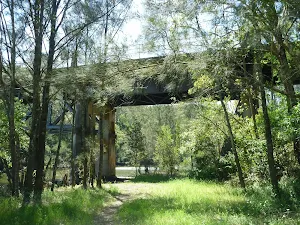
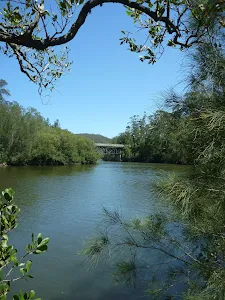
Phil Houghton Bridge
(8km) Phil Houghton Bridge → Brisbane Water NP sign
(10km) Brisbane Water NP sign → Mooney Mooney Creek Trackhead
Maps for the Wondabyne to Mooney Mooney Creek Trackhead walk
You can download the PDF for this walk to print a map.
These maps below cover the walk and the wider area around the walk, they are worth carrying for safety reasons.
| Gunderman | 1:25 000 Map Series | 91313S GUNDERMAN | NSW-91313S |
| Gosford | 1:25 000 Map Series | 91312S GOSFORD | NSW-91312S |
| Gosford | 1:100 000 Map Series | 9131 GOSFORD | 9131 |
Cross sectional view of the Wondabyne to Mooney Mooney Creek Trackhead bushwalking track
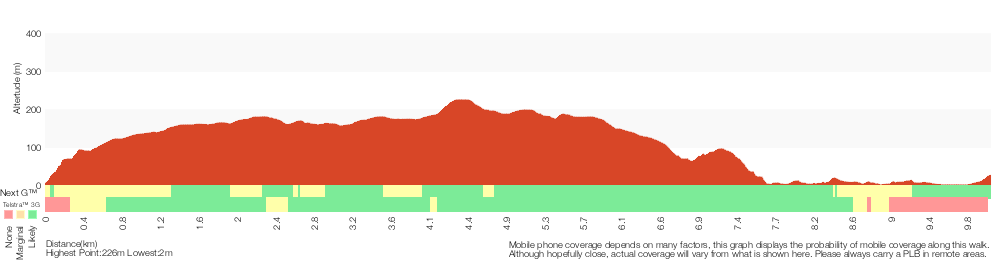
Analysis and summary of the altitude variation on the Wondabyne to Mooney Mooney Creek Trackhead
Overview of this walks grade – based on the AS 2156.1 – 2001
Under this standard, a walk is graded based on the most difficult section of the walk.
| Length | 10.1 km | ||
| Time | 4 hrs 15 mins | ||
| . | |||
Grade 4/6 Hard track | AS 2156.1 | Gradient | Very steep (4/6) |
| Quality of track | Rough track, where fallen trees and other obstacles are likely (4/6) | ||
| Signs | Minimal directional signs (4/6) | ||
| Experience Required | Some bushwalking experience recommended (3/6) | ||
| Weather | Weather generally has little impact on safety (1/6) | ||
| Infrastructure | Limited facilities, not all cliffs are fenced (3/6) |
Some more details of this walks Grading
Here is a bit more details explaining grading looking at sections of the walk
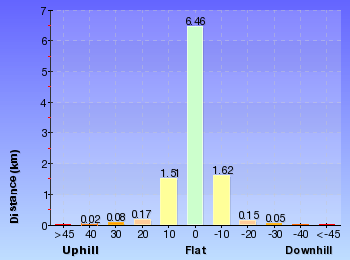
Gradient
6km of this walk is very steep and another 2.3km has gentle hills with occasional steps. Whilst another 2km has short steep hills and the remaining 130m is flat with no steps.
Quality of track
6km of this walk follows a clear and well formed track or trail and another 2.4km follows a rough track, where fallen trees and other obstacles are likely. The remaining (1.7km) follows a formed track, with some branches and other obstacles.
Signs
Around 8km of this walk has directional signs at most intersection, whilst the remaining 2.4km has minimal directional signs.
Experience Required
Around 6km of this walk requires some bushwalking experience, whilst the remaining 4.2km requires no previous bushwalking experience.
weather
This whole walk, 10km is not usually affected by severe weather events (that would unexpectedly impact safety and navigation).
Infrastructure
Around 6km of this walk is close to useful facilities (such as fenced cliffs and seats), whilst the remaining 3.8km has limited facilities (such as not all cliffs fenced).
Similar walks
A list of walks that share part of the track with the Wondabyne to Mooney Mooney Creek Trackhead walk.
Piles Creek Loop
4.2 km Circuit, 2 hrs
Moderate track
Wondabyne station to Kariong Brook falls
8.1 km Return, 3 hrs 30 mins
Hard track
Girrakool to Wondabyne station
9.5 km One way, 4 hrs
Hard track
Pindar Cave
11.5 km Return, 6 hrs
Experienced only
Girrakool to Staples Lookout via Kariong Brook Falls
12.3 km One way, 5 hrs 30 mins
Hard track
Wondabyne to Woy Woy
15.4 km One way, 6 hrs
Hard track
Girrakool to Wondabyne station via Pindar caves
18.1 km One way, 7 hrs 30 mins
Experienced only
Patonga to Wondabyne station via Mt Wondabyne
19.5 km One way, 7 hrs 30 mins
Hard track
Somersby & Mooney Mooney Creek Loop
20 km Circuit, 7 hrs 30 mins
Moderate track
Girrakool to Woy Woy station via Mt Wondabyne
20.7 km One way, 8 hrs 30 mins
Hard track
Wondabyne to Woy Woy station via Pindar Caves
24 km One way, 8 hrs 30 mins
Experienced only
Girrakool to Patonga
24.8 km One way, 10 hrs
Hard track
Girrakool to Patonga Overnight
24.8 km One way, 2 Days
Hard track
Wondabyne station to Somersby Store
26.2 km One way, 10 hrs
Hard track
Wondabyne station to Somersby Store overnight
26.2 km One way, 2 Days
Hard track
Patonga to Wondabyne station via Pindar Caves overnight
28.1 km One way, 2 Days
Experienced only
Cowan to Wondabyne station via Patonga rest area
33.4 km One way, 2 Days
Hard track
Patonga to Somersby
41.5 km One way, 3 Days
Hard track
Other Nearby walks
A list of walks that start near the Wondabyne to Mooney Mooney Creek Trackhead walk.
Staples Lookout to Kariong Brook
5.8 km Return, 2 hrs 30 mins
Hard track
Staples Lookout to Mt Wondabyne loop
10.8 km Circuit, 4 hrs 30 mins
Hard track
Bulgandry Engravings
800 m Return, 20 mins
Very easy
Mooney Mooney Creek Trackhead to Somersby
16.1 km One way, 6 hrs
Hard track
Patonga to Pearl Beach
4.3 km One way, 1 hr 45 mins
Moderate track
Patonga to Staples Lookout
17 km One way, 6 hrs 30 mins
Hard track
Patonga to Warrah Trig Station
4.3 km Return, 2 hrs
Moderate track
Patonga to Woy Woy
15.5 km One way, 5 hrs 45 mins
Hard track
McKell Park Loop
931 m Circuit, 30 mins
Moderate track
McKell Park to Flat Rock Point
1.4 km Return, 30 mins

Very easy
Mt Ettalong Lookout
1.4 km Return, 30 mins

Easy track
Little Wobby to Woy Woy via Rocky Ponds
16.1 km One way, 6 hrs 30 mins
Experienced only
Plan your trip to and from the walk here
The Wondabyne to Mooney Mooney Creek Trackhead walk starts at the Wondabyne Station (gps: -33.492083, 151.25696)
The Wondabyne to Mooney Mooney Creek Trackhead ends at the Mooney Mooney Creek Trackhead (gps: -33.437991, 151.25191)
Weather Forecast
This walk starts in the Hunter weather district.
Current Alerts
Park Information
Brisbane Water National Park
Brisbane Waters National Park is situated south west of Gosford perched on the Hawkesbury River. The park is characterised by sandstone features, Aboriginal engravings, flowery heaths, bird life and spectacular water views. Brisbane Waters NP has many bushwalks through the are with the Great North Walk passing through the middle of the park.
Comments
Short URL: http://wild.tl/wtmmct