Spit to Lindfield


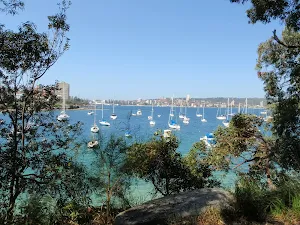
Sydney Harbour Kayaks
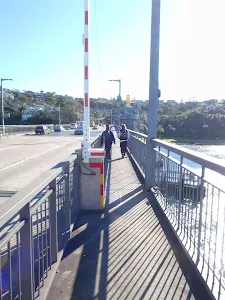
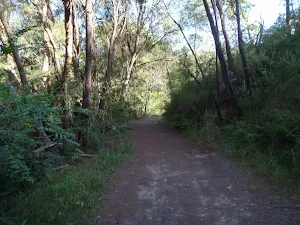
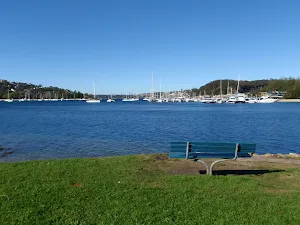
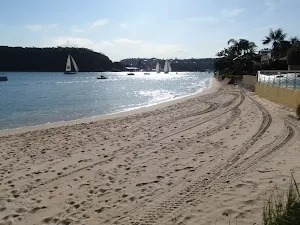
(0km) Spit Bridge South → Int. Spit Rd and Ellery's Punt Reserve Road
(0km) Int. Spit Rd and Ellery's Punt Reserve Road → Int. Ellery's Punt Rd and Avona Cres Trk
(0km) Int. Ellery's Punt Rd and Avona Cres Trk → Int. Ellery's Punt Reserve Rd and Manly Scenic Walkway
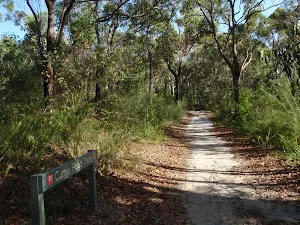
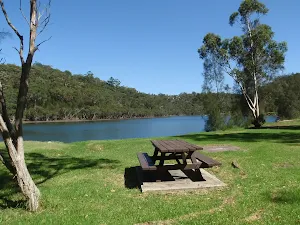
Ellery's Punt Reserve
(0km) Int. Ellery's Punt Reserve Rd and Manly Scenic Walkway → End of Battle Boulevard
(1km) End of Battle Boulevard → Int. Battle Boulevard and Manly Rd
(1km) Int. Battle Boulevard and Manly Rd → Top of the Gallipoli Steps
(1km) Top of the Gallipoli Steps → Int of Sangrado Street and Seaforth Crescent
(3km) Int of Sangrado Street and Seaforth Crescent → Int of Sangrado Street and the Powder Hulk Bay footpath
(3km) Int of Sangrado Street and the Powder Hulk Bay footpath → Top of the Jenner Street Steps
Turn right: From the intersection, the walk follows the track marker up the concrete steps. The walk follows the steps all the way up the hill to a driveway, which it crosses and continues up the steps on the other side, climbing up to the top of the hill at the intersection with Jenner Street.
(3km) Top of the Jenner Street Steps → Wakehurst Pkwy Bus stop
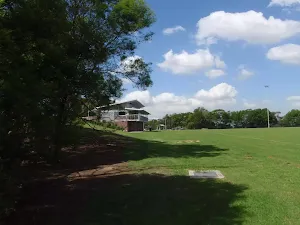
(5km) Wakehurst Pkwy Bus stop → Seaforth Oval
Veer left: From the intersection, the walk heads across the long grassy clearing towards the play equipment. Upon reaching the play equipment, the walk then follows the asphalt path, heading up on the right-hand side of the club house to the car park. Here, it turns left, passing the club house and coming to the information signs on the other side of the car park.
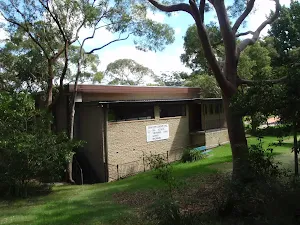
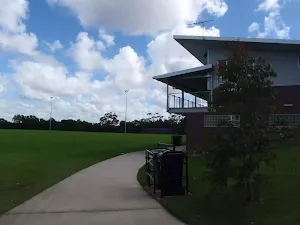
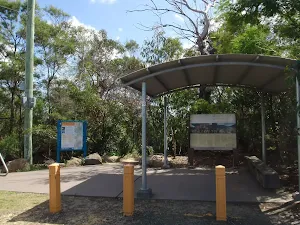
Seaforth Oval
(5km) Seaforth Oval → Int of the Timbergetters and Engraving Tracks
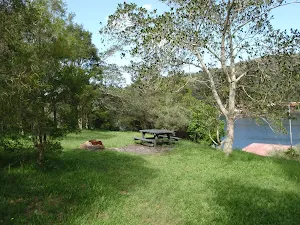
(5km) Int of the Timber Getters and Engraving Tracks → Bantry Bay Picnic Area
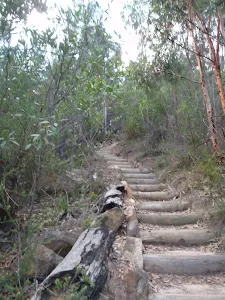
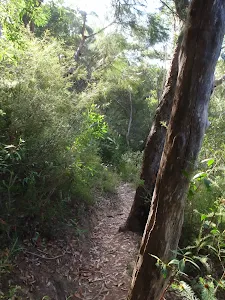
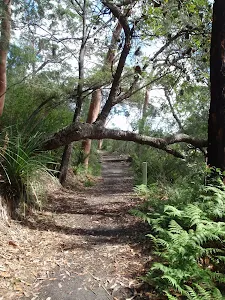
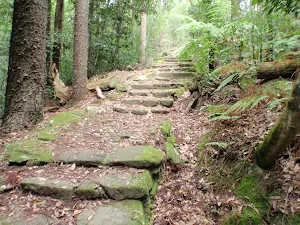
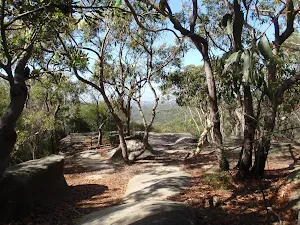
Continue straight: From the intersection (with the signposted 'Old Bullock Track'[4] on the right), this walk heads west down the three wooden steps and along the track, winding through the dense scrub for a while. The walk crosses a small creek at some stepping stones and passes an old telegraph pole with no power lines attached. The track continues in this manner for a little while longer before it comes to the top of a short set of rock steps, where it starts to wind down into the valley using several scattered sets of wooden steps and one long set of rock steps, until coming down to the large picnic area at the bottom.
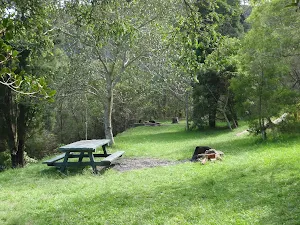
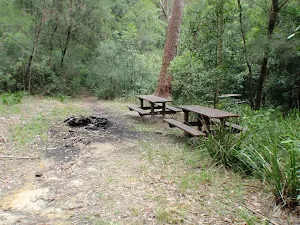
Bantry Bay Picnic Area
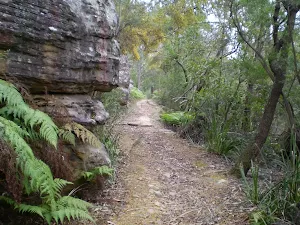
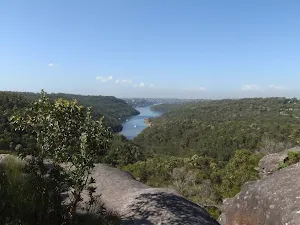
(6km) Bantry Bay Picnic Area → The Bluff Lookout
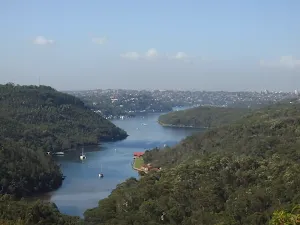
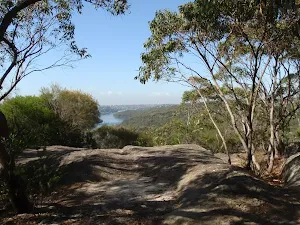
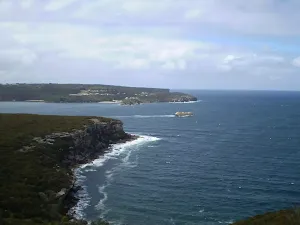
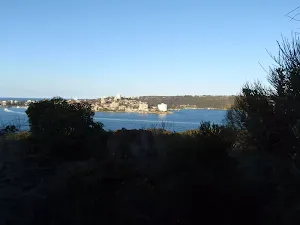
Bluff Lookout
(8km) The Bluff Lookout → Int of Bluff and Natural Bridge Tracks
Continue straight: From the intersection, the track follows the service trail (with the bush track on the right), heading north-west through the bush for a little while before coming to the signposted intersection with the Natural Bridge Track.
(8km) Int of Bluff and Natural Bridge Tracks → Natural Bridge
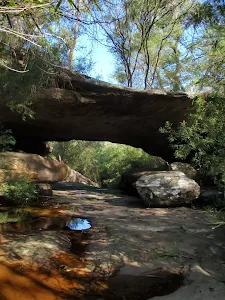
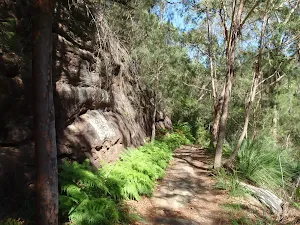
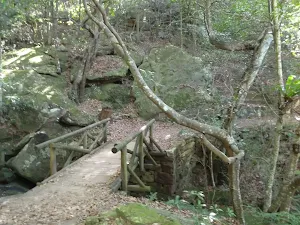
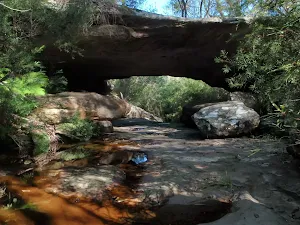
Veer left: From the intersection, this walk follows the track marker along the bush track, heading west through the bush for a short distance to a large rock outcrop. From here, the walk continues along the defined bush track, winding down the long and sometimes steep rocky hill, into the valley. The vegetation gradually gets thicker, until this walk comes down to a wide rock arch crossing a creek - the Natural Bridge.
Natural Bridge
(9km) Natural Bridge → Int of Natural Bridge and Currie Road Tracks
(9km) Int of Natural Bridge and Currie Road Tracks → Int of Bates Creek and Currie Rd tracks
(9km) Int of Bates Creek and Currie Rd tracks → Int of Magazine Track and Tipperary Road service trail
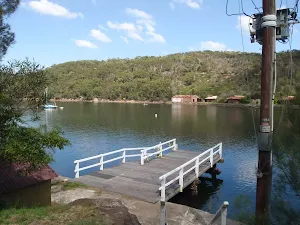
(10km) Int of Magazine Track and Tipperary Road service trail → Back of Magazine Buildings
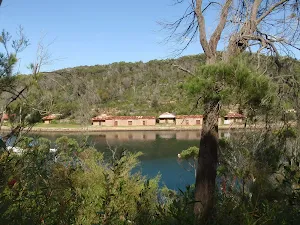
Bantry Bay Explosives Magazine complex
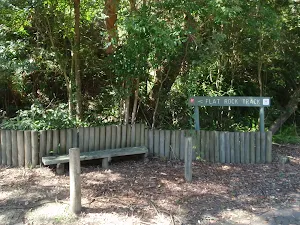
(11km) Back of Magazine Buildings → Int of Magazine and Flat Rock Beach Tracks
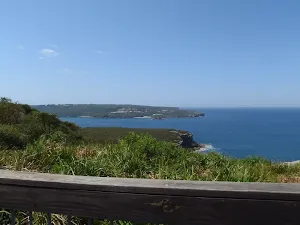
(12km) Int of Magazine and Flat Rock Beach Tracks → Flat Rock Beach
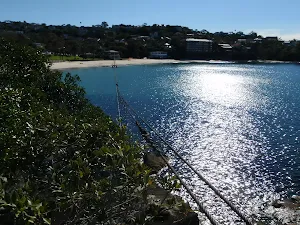
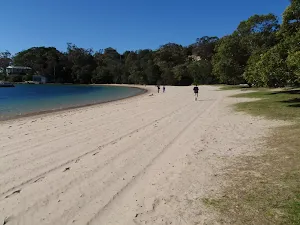
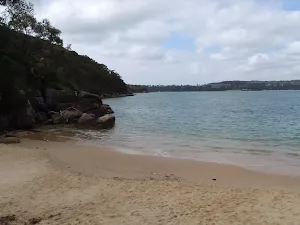
Flat Rock Beach

(12km) Int of Magazine and Flat Rock Beach Tracks → Int of Flat Rock and Magazine Tracks
(12km) Int of Flat Rock and Magazine Tracks → Int of Downpatrick Road Servicetrail and Flat Rock Track
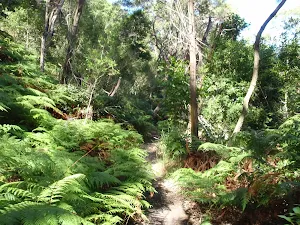
Continue straight: From the intersection, this walk follows the bush track along the side of the hill, with the ground sloping up to the right. The track meanders through the dense bushland, occasionally catching a nice view over Middle Harbour Creek down to the left, and continues to the intersection of a rough service trail on the right, which heads uphill.
(14km) Int of Downpatrick Road Servicetrail and Flat Rock Track → Int of Davidson Park driveway and Flat Rock Track
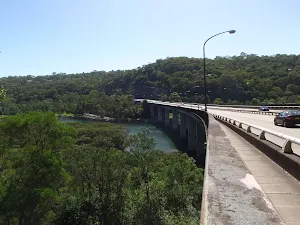
(14km) Int of Davidson Park driveway and Flat Rock Track → Int of Davidson Park driveway and Warringah Road on-ramp
(15km) Int of Davidson Park driveway and Warringah Road on-ramp → End of Ormonde Road Track
Continue straight: From the intersection, the walk follows very narrow verge on the side of Warringah Rd up the hill away from Roseville Bridge. After about 270m the walk passes under a road bridge the turns right to follow the on-ramp up the hill to Ormonde Rd. The on-ramp loops around to an intersection with Ormonde Rd, where the walk turns left, following Ormonde Rd away from Warringah Rd. The walk passes The Kingsway, Cardigan Road and Chase Avenue before reaching the end of Ormonde Rd.
(16km) End of Ormonde Road Track → Int of Two Creeks and Ormonde Road tracks
(16km) Int of Two Creeks and Ormonde Road tracks → Int of Two Creeks and Carlyle Road tracks
(17km) Int of Two Creeks and Carlyle Road tracks → Eastern end of Two Creeks detour
Continue straight: From the intersection (at the 'to Wellington Road' sign), this walk follows the Two Creeks bush track (keeping the Middle Harbour Creek down the hill on the right) as it heads though the bush for a while. The track passes a 'Garigal National Park' sign while bending into the Gordon Creek valley, and continues through the trees, keeping the valley down to the right as it heads along to the intersection with the defined bush track on the left.
(19km) Eastern end of Two Creeks detour → Western end of Two Creeks detour
(20km) Western end of Two Creeks detour → End of Gordon Creek service trail
(20km) End of Gordon Creek service trail → Int of Gordon Creek Crossing track and servicetrail
Continue straight: From the pipeline, this walk follows the service trail, with the pipeline on the right and the ground sloping up to the left. The trail heads through the bush and along the side of the hill to the signposted intersection with wooden steps on the right.
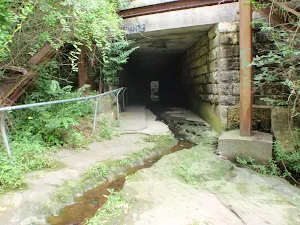
(20km) Int of Gordon Creek Crossing track and servicetrail → Int of tunnel track and Gordon Creek servicetrail
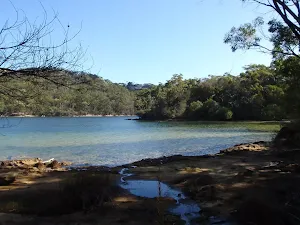
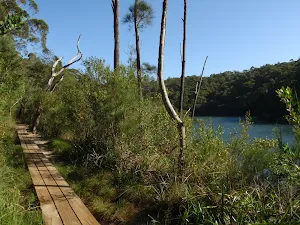
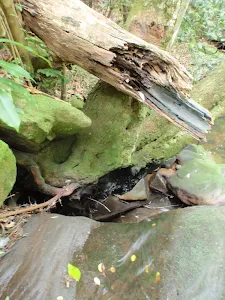
(21km) Int of tunnel track and Gordon Creek servicetrail → Gordon Creek waterfall
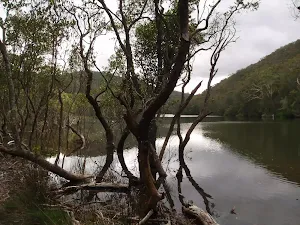
Gordon Creek waterfall
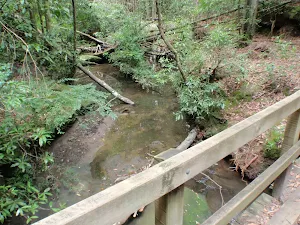
(21km) Gordon Creek waterfall → Foot Bridge Intersection
(21km) Foot Bridge Intersection → Picnic area intersection
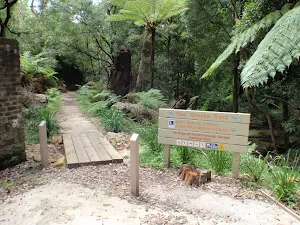
Seven Little Australians Picnic Area
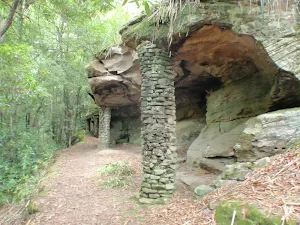
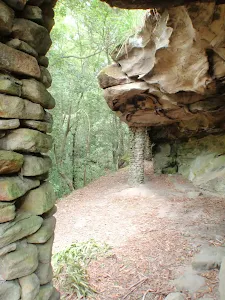
(21km) Picnic area intersection → Sandstone Pillar overhang
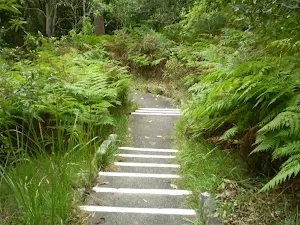
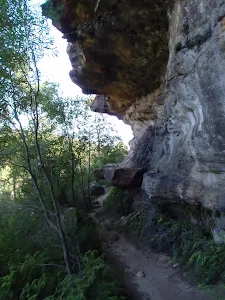
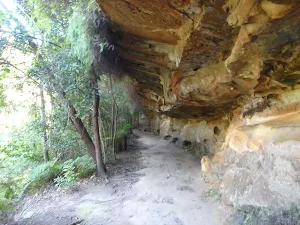
Sandstone Pillar overhang
(22km) Sandstone Pillar overhang → Slade Ave (Just north of Tryon Rd)
(22km) Slade Ave (Just north of Tryon Rd) → Lindfield Station
Maps for the Spit to Lindfield walk
You can download the PDF for this walk to print a map.
These maps below cover the walk and the wider area around the walk, they are worth carrying for safety reasons.
| Parramatta River | 1:25 000 Map Series | 91303N PARRAMATTA RIVER | NSW-91303N |
| Sydney | 1:100 000 Map Series | 9130 SYDNEY | 9130 |
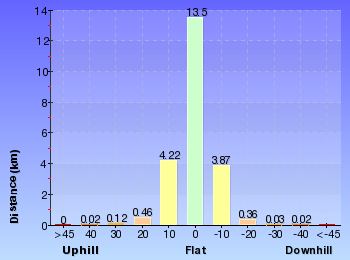
Cross sectional view of the Spit to Lindfield bushwalking track
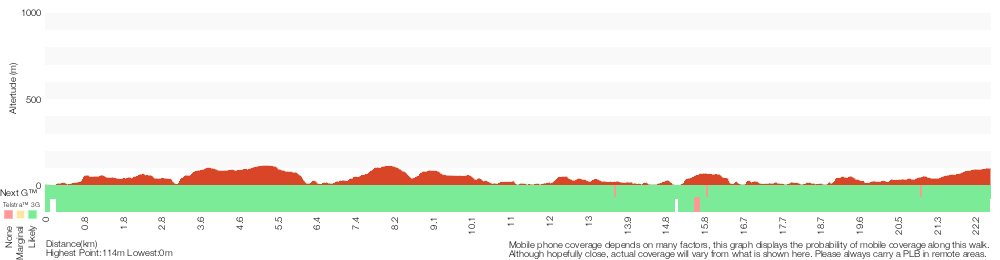
Analysis and summary of the altitude variation on the Spit to Lindfield
Overview of this walks grade – based on the AS 2156.1 – 2001
Under this standard, a walk is graded based on the most difficult section of the walk.
| Length | 22.6 km | ||
| Time | 9 hrs 45 mins | ||
| . | |||
Grade 4/6 Hard track | AS 2156.1 | Gradient | Very steep (4/6) |
| Quality of track | Formed track, with some branches and other obstacles (3/6) | ||
| Signs | Directional signs along the way (3/6) | ||
| Experience Required | Some bushwalking experience recommended (3/6) | ||
| Weather | Storms may impact on navigation and safety (3/6) | ||
| Infrastructure | Limited facilities, not all cliffs are fenced (3/6) |
Some more details of this walks Grading
Here is a bit more details explaining grading looking at sections of the walk
Gradient
8km of this walk has gentle hills with occasional steps and another 8km has short steep hills. Whilst another 4km is flat with no steps and the remaining 2.8km is very steep.
Quality of track
13km of this walk follows a formed track, with some branches and other obstacles and another 4.8km follows a clear and well formed track or trail. The remaining (4.6km) follows a smooth and hardened path.
Signs
Around 13km of this walk is clearly signposted, whilst the remaining 9km has directional signs at most intersection.
Experience Required
Around 15km of this walk requires no previous bushwalking experience, whilst the remaining 8km requires some bushwalking experience.
weather
Around 22km of this walk is not usually affected by severe weather events (that would unexpectedly impact safety and navigation), whilst the remaining 220m is affected by storms that may impact your navigation and safety.
Infrastructure
Around 14km of this walk is close to useful facilities (such as fenced cliffs and seats), whilst the remaining 9km has limited facilities (such as not all cliffs fenced).
Similar walks
A list of walks that share part of the track with the Spit to Lindfield walk.
Flat Rock Beach track
516 m Return, 20 mins
Moderate track
The Bluff Track
986 m Return, 30 mins
Moderate track
Natural Bridge Walk
1.4 km Return, 45 mins

Moderate track
Timber Getters Track
1.8 km Return, 1 Hr
Hard track
Engravings Track
2.2 km One way, 45 mins

Moderate track
Magazine Track
3.4 km One way, 1 hr 30 mins
Moderate track
Spit Bridge to Fisher Bay
3.6 km Circuit, 1 hr 30 mins
Hard track
Curry Rd to The Bluff (via the Natural Bridge)
3.7 km Return, 1 hr 30 mins
Hard track
Balmoral Beach to The Spit
4.3 km One way, 2 hrs 30 mins
Hard track
Currie Rd Track
4.5 km Return, 1 hr 30 mins
Hard track
East Bantry Bay
4.6 km One way, 2 hrs
Hard track
Seaforth Oval to the Bluff Lookout
5.4 km Return, 3 hrs
Hard track
East Killara Track
6 km One way, 2 hrs 45 mins
Hard track
Two Creeks Track
6.1 km One way, 2 hrs 30 mins
Moderate track
Lindfield Park and Little Digger Track Loop
6.7 km Circuit, 2 hrs 45 mins
Moderate track
Currie Rd to Davidson Park
7.2 km One way, 3 hrs
Moderate track
Spit Bridge to North Harbour Reserve
8.7 km Circuit, 4 hrs
Moderate track
Spit Bridge to Manly (Manly Scenic Walkway)
9.1 km One way, 3 hrs 45 mins
Moderate track
Seaforth Oval to Davidson Park
10 km One way, 4 hrs 30 mins

Hard track
Seaforth Oval to Roseville Bridge via Bantry Bay
10 km One way, 4 hrs
Hard track
Taronga Zoo to Spit Bridge
10.4 km One way, 5 hrs
Hard track
Currie Rd Track to Ferguson St via Magazine Buildings and Davidson Park
11.2 km One way, 4 hrs 30 mins
Hard track
Little Digger Track to Davidson Reserve and Lyrebird Circuit
11.5 km One way, 4 hrs 30 mins
Hard track
Manly to Seaforth Oval
13.7 km One way, 5 hrs 45 mins
Moderate track
Middle Harbour Creek Loop
15.1 km Circuit, 5 hrs 45 mins

Experienced only
Taronga Zoo to Manly
18.9 km One way, 8 hrs
Hard track
Other Nearby walks
A list of walks that start near the Spit to Lindfield walk.
Spit Bridge to Middle Head Forts
6.1 km One way, 2 hrs 30 mins
Hard track
Castle Rock Beach
200 m Return, 30 mins
Moderate track
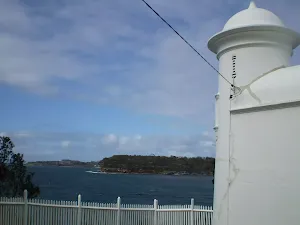
Castle Rock to Grotto Point Lighthouse
2 km Return, 1 Hr
Moderate track
Dobroyd Head Walk
2.5 km Circuit, 1 Hr
Hard track
Grotto Point Walk
3.6 km Return, 2 hrs
Moderate track
Arabanoo Lookout
142 m Return, 15 mins
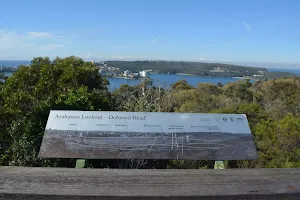
Very easy
Crater Cove Lookout
60 m Return, 3 mins
Moderate track
Grotto Point Lighthouse Walk
1.7 km Return, 1 Hr
Moderate track
North Arm Walking Track
3.1 km One way, 2 hrs

Moderate track
Manly Dam Circuit Walk
7.3 km Circuit, 3 hrs

Moderate track
Manly Dam Nature Trail
3.2 km Return, 1 hr 30 mins

Moderate track
Balmoral to Middle Head Forts
3.9 km Circuit, 2 hrs
Hard track
Plan your trip to and from the walk here
The Spit to Lindfield walk starts at the Spit Bridge South (gps: -33.804355, 151.24615)
The Spit to Lindfield ends at the Lindfield Station (gps: -33.775095, 151.16906)
Weather Forecast
This walk starts in the Metropolitan weather district.
Current Alerts
Park Information
Garigal National Park
Largely following Middle Harbour Creek and stretching from Seaforth in the south to St Ives in the north Garigal National Park is hidden through Sydney's Northern suburbs. Despite how close it is to large urban centres Garigal is quite beautiful with lots of different walking and cycling tracks. For those just wishing to picnic Davidson Reserve is a great spot just next to Middle Harbour Creek, under the Roseville Bridge.
Moores Creek Reserve
Moores Creek Reserve is a large bushland reserve owned and managed by Ku-ring-gai council. The reserve is bound by Middle Harbour, Garigal National Park, Moore Creek, Chase Ave and Carlye Rd. The area has a number of well managed walking tracks. The reserve is home to several small but nice water falls and several sandstone caves.
Hermits Retreat
Hermits Retreat is a large natural bushland reserve bound by Eastern Arterial Rd, Lindfield Oval, Garigal National Park, and Monash Ave. The reserve is home on Lindfield Rocks a popular rock climbing area. There are several walking tracks and service trails through this park that is owned and managed by Ku-ring-gai council.
Seven Little Australians
Seven Little Australians Park is a reserve of bushland with some clearings that extends north of Tryon Rd and west of Eastern Arterial Rd, Lindfield. The reserve is named in honour of Ethel Turner's classic novel "Seven Little Australians". The reserve has preserved bushland, sandstone pillars, steps, seats and other features that date back to engineers training before WW1. Other work was done during the great Depression, and today the area is managed by Ku-ring-gai Council. The main entrance to the park is at the cross-streets of Northcote Rd and Slade Ave Linfield. At this entrance there is a great set of sandstone pillars, a clearing, signposts and a tap with town water.
Comments
Short URL: http://wild.tl/stl