Charlestown Park trackhead to Newcastle station


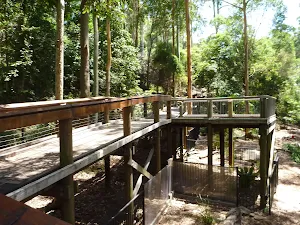
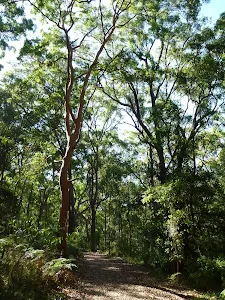
Charlestown Park

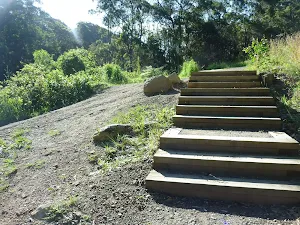
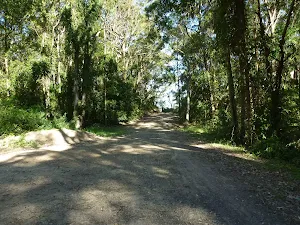
(0km) Charlestown Park → End of Milson Street
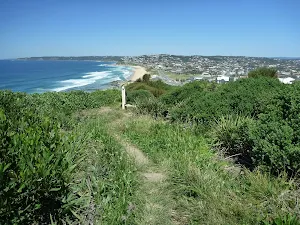
(1km) End of Milson Street → Int of Flaggy Creek track & Guna Street
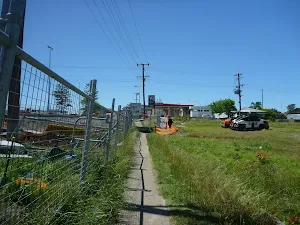
(1km) Int of Flaggy Creek track & Guna Street → Yuelarbah carpark
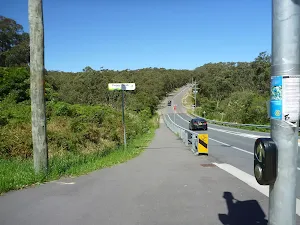
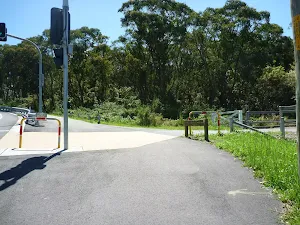
Turn left: From the intersection[37], this walk follows the shared Fernleigh Track footpath gently uphill[38], initially keeping the railing on your right[39]. The walk follows the sealed path for about 110m to find Burwood Rd[40] and a pedestrian crossing with traffic lights[41]. Here the walk crosses Burwood Rd and comes to an intersection[42], marked with a 'Great North Walk' sign[43].
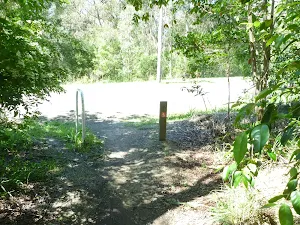
Turn right: From the intersection[44], this walk follows the 'Great North Walk - Newcastle' sign[45] gently downhill along the footpath[46], keeping the safety barrier and Burwood Rd to your right. After about 70m, the path leads across a bridge[47] (over Flaggy Creek) and then after another 30m, the walk turns left into the signposted 'Yuelarbah car park'[48].
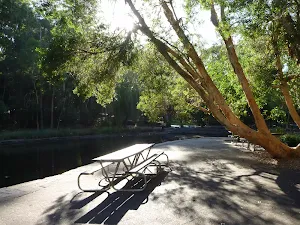
Yuelarbah car park


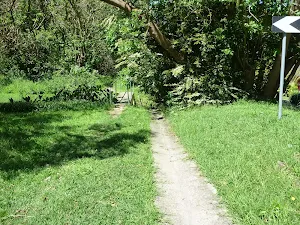
(3km) Yuelarbah car park → Int of Yuelarbah track AND Glenrock scoutcamp track


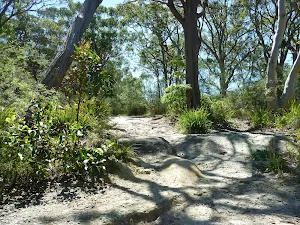
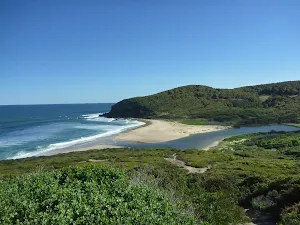
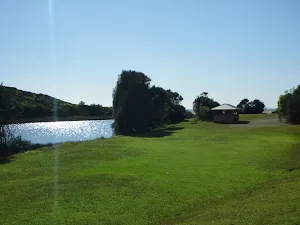
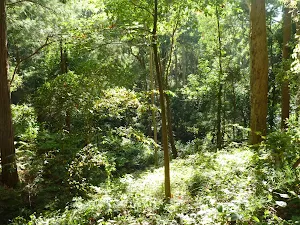
(4km) Int of Yuelarbah track & Glenrock scoutcamp track → Glenrock Beach (north of lagoon)
Turn sharp left: From the intersection[77], this walk follows the road moderately steeply downhill[78], while keeping the eroded track[79] on your left (heading towards the bright yellow sign[80] on the road). The walk continues for about 130m (turning sharply[81] to the right) to find a locked gate[82] and 'Please Shut Gate' sign[83]. The walk passes around the gate and continues gently downhill for about 70m, to find a three-way intersection[84] with a 'Scouting Centenary 1908-2008' sign[85]. The walk turns left, gently downhill (towards lower buildings) for about 15m, until coming to a locked chained gate[86] and 'Emergency Assembly Point' sign[87] (on the right) and Glenrock Scout Camp.
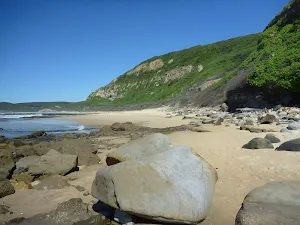
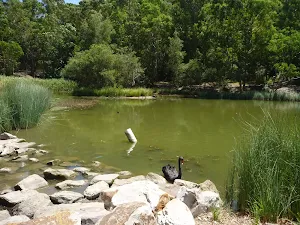
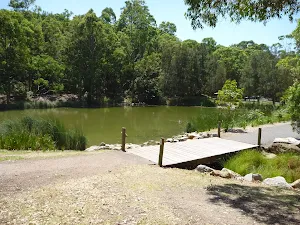
Turn right: From the locked chain gate[88] and 'Emergency Assembly Point' sign[89], this walk passes over the gate, heading towards the ocean. The walk continues gently downhill over a large grassed area[90], towards the lagoon[91], passing the camping area and camp kitchen[92] after about 150m. The walk continues across the grassy area for 100m, past the 'This is Scout property' sign[93], to then follow the sandy track[94] over the sand dune for about 280m, until coming to Glenrock Beach[95] (with the end of the lagoon on your left[96]).
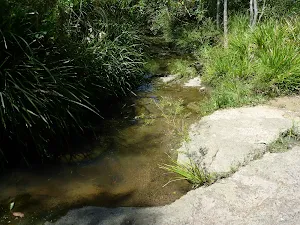
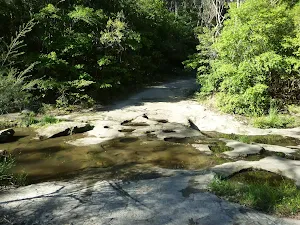
Veer left: From Glenrock Beach[97] (south of the lagoon), this walk follows the beach north[98] (keeping the ocean on your right) for about 70m. There is a possibility of getting wet feet when crossing the lagoon outlet stream[99], depending on conditions. Once past the lagoon, this walk heads up to the intersection marked with a GNW arrow post[100] at the bottom of the vegetated bank[101]. Now Continue straight to rejoin the main walk .
Glenrock Scout Camp
(4km) Int of Yuelarbah track & Glenrock scoutcamp track → Int of Yuelarbah track AND powerlines
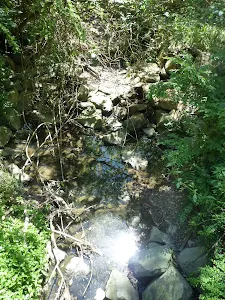
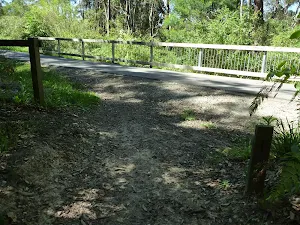
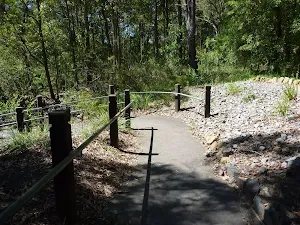
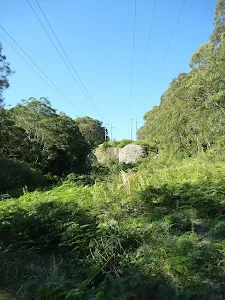
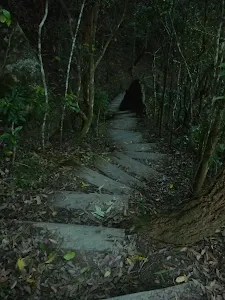
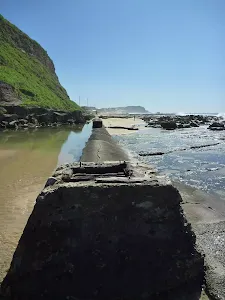
Turn right: From the intersection[112], this walk follows the track gently downhill[113], initially keeping the bridge[114] and Flaggy Creek[115] on your right. The walk heads down along the footpath[116], past the bench seat[117] and down a few timber steps[118] for about 150m, until coming to an intersection under the power lines[119], just past the 'Yuelarbah Track' sign[120].
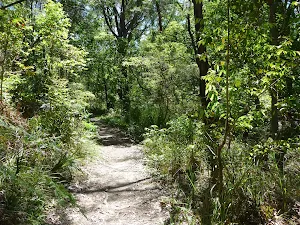
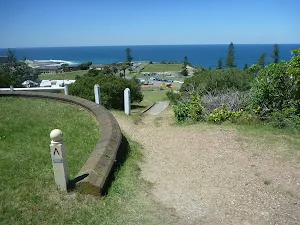
(4km) Int of Yuelarbah AND powerline tracks → Leichhardts Lookout
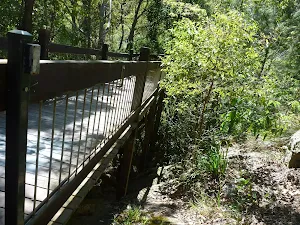
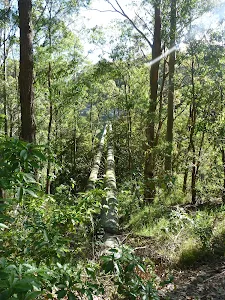
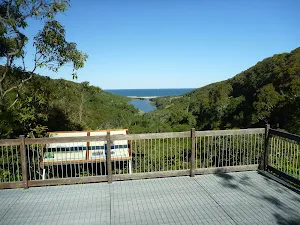
Turn right: From the intersection[132], this walk follows the rocky track[133] moderately steeply downhill, towards the timber bridge[134]. At the bottom of the timber steps[135], this walk crosses the timber bridge[136] over Little Flaggy Creek[137]. Here the walk leads up some timber steps[138] then winds moderately steeply up along the track for about 70m, coming to a three-way intersection beside the raised timber platform[139], signposted as 'Leichhardts Lookout'[140].
Leichhardts Lookout
(4km) Leichhardts Lookout → Int of Yuelarbah AND Glenrock Beach
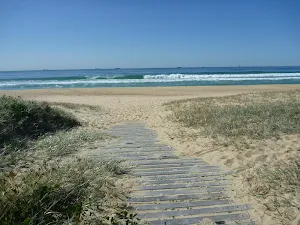
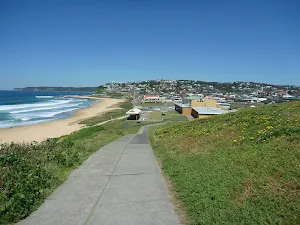
(6km) Glenrock Beach (north of lagoon) → Merewether Baths
Continue straight: From the intersection[172] (below the information shelter[173]), this walk follows the beach north[174], while keeping the ocean on your right. The walk soon heads over a series of attractive rock platforms[175] at the base of a large cliff and headland, and after about 1km, comes to the Merewether Ocean Baths[176][177]. If there is a light to moderate onshore breeze, then you might also enjoy the view of some hanggliders and paragliders flying above. Take care along the rock platforms, especially during high tides and high seas - during particularly high tides this section may become unsafe to pass.
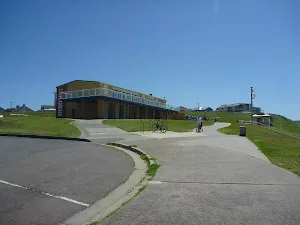
(8km) Merewether Baths → Merewether SLSC
(8km) Swell Cafe → Bar Beach car park
Continue straight: From 'Dixon Park SLSC'[191], this walk follows the footpath moderately steeply uphill[192], keeping the ocean on your right for just over 100m to find Ocean St. Here the walk turns right and continues beyond the end of Ocean St heading downhill[193] for 160m past the end of 'Kilgour Ave' to a small car park[194]. The walk veers left across the car park and follows the footpath, past the playing fields (on the left) and alongside the beach for 350m to the 'Cooks Hill SLSC' building[195] (on the right). The walk continues straight, beside the road and car park[196] before climbing up some concrete stairs[197], to find the large Bar Beach car park[198] (opposite the end of Parkway Ave). There are wide ocean views at the end of the car park, on your right[199] .
(9km) Bar Beach car park → Strzelecki Lookout
Strzelecki Lookout
(10km) Strzelecki Lookout → King Edward Park (southern entrance)
(10km) King Edward Park (southern entrance) → Int of Reserve Road AND The Terrace
Turn left: From the barbeque area[219], this walk follows the GNW arrow post[220] up along the footpath heading between the BBQ[221] and fountain[222], away from York Dr. The footpath leads up among the large pine trees[223] for 80m, to Reserve Rd[224]. Here the walk follows the GNW arrow post[225] across the road at the safety island[226] to the footpath on the other side, beside the intersection of 'Reserve Rd' and 'The Terrace'.[227]
(11km) Int of Reserve Road AND The Terrace → The Obelisk
Continue straight: From the intersection, this walk follows the GNW arrow post[234] up the concrete stairs[235] with metal hand railing[236]. At the top of the stairs this walk follows the sealed footpath[237] for about 25m to the tall white stone Obelisk[238] and monument[239].
The Obelisk

(11km) The Obelisk → Newcastle Train Station
Veer left: From the intersection, this walk follows the Great North Walk marker down Newcomen Street. The walk takes the first right down Church Street, passing the Grand Hotel and Police Station, then turning left onto Watt Street. The walk continues down Watt St until reaching the intersection with Scott St, where the walk reaches Newcastle railway station.
Maps for the Charlestown Park trackhead to Newcastle station walk
You can download the PDF for this walk to print a map.
These maps below cover the walk and the wider area around the walk, they are worth carrying for safety reasons.
| Wallsend | 1:25 000 Map Series | 92323S WALLSEND | NSW-92323S |
| Newcastle | 1:25 000 Map Series | 92322S NEWCASTLE | NSW-92322S |
| Newcastle | 1:100 000 Map Series | 9232 NEWCASTLE | 9232 |
Cross sectional view of the Charlestown Park trackhead to Newcastle station bushwalking track
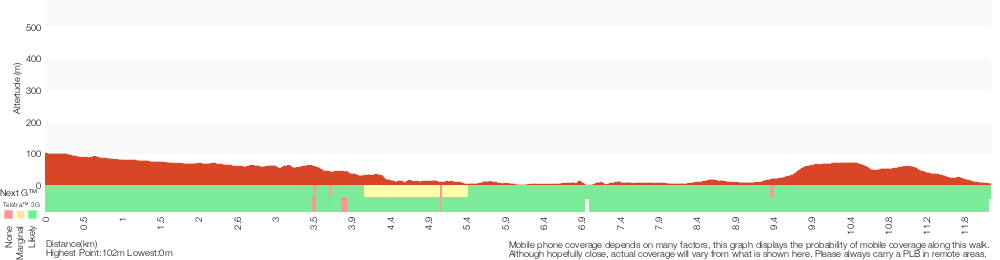
Analysis and summary of the altitude variation on the Charlestown Park trackhead to Newcastle station
Overview of this walks grade – based on the AS 2156.1 – 2001
Under this standard, a walk is graded based on the most difficult section of the walk.
| Length | 12.1 km | ||
| Time | 5 hrs 30 mins | ||
| . | |||
Grade 4/6 Hard track | AS 2156.1 | Gradient | Short steep hills (3/6) |
| Quality of track | Rough track, where fallen trees and other obstacles are likely (4/6) | ||
| Signs | Directional signs along the way (3/6) | ||
| Experience Required | Moderate level of bushwalking experience recommended (4/6) | ||
| Weather | Forecast, unforecast storms and severe weather may impact on navigation and safety (4/6) | ||
| Infrastructure | Limited facilities, not all cliffs are fenced (3/6) |
Some more details of this walks Grading
Here is a bit more details explaining grading looking at sections of the walk
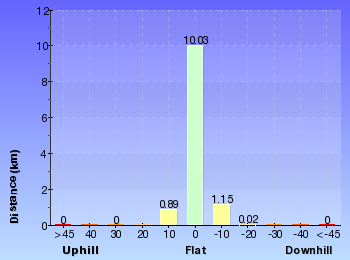
Gradient
6km of this walk has gentle hills with occasional steps and another 3km is flat with no steps. The remaining (2.7km) has short steep hills.
Quality of track
6km of this walk follows a smooth and hardened path and another 3.5km follows a formed track, with some branches and other obstacles. Whilst another 2km follows a rough track, where fallen trees and other obstacles are likely and the remaining 170m follows a clear and well formed track or trail.
Signs
Around 8km of this walk is clearly signposted, whilst the remaining 4.6km has directional signs at most intersection.
Experience Required
10km of this walk requires no previous bushwalking experience and another 1.4km requires some bushwalking experience. The remaining (1km) requires a leader a with moderate level of bushwalking experience.
weather
Around 11km of this walk is not usually affected by severe weather events (that would unexpectedly impact safety and navigation), whilst the remaining 1km is affected by forecast, unforecast storms and severe weather events that may impact on navigation and safety.
Infrastructure
Around 10km of this walk is close to useful facilities (such as fenced cliffs and seats), whilst the remaining 2.4km has limited facilities (such as not all cliffs fenced).
Similar walks
A list of walks that share part of the track with the Charlestown Park trackhead to Newcastle station walk.
Yuelarbah walking track to Flaggy Creek
1.3 km Return, 40 mins
Easy track
Merewether to Queens Wharf
4.4 km One way, 1 hr 30 mins

Moderate track
Charlestown Park track head to Merewether
7.9 km One way, 2 hrs 45 mins

Hard track
Teralba to Newcastle via Glenrock Scout Camp
25.7 km One way, 2 Days

Hard track
Other Nearby walks
A list of walks that start near the Charlestown Park trackhead to Newcastle station walk.
Blackbutt Wildlife Exhibit
480 m Circuit, 15 mins
Very easy
Main Ridge Circuit Walk
2.5 km Circuit, 1 Hr

Moderate track
Rod Earp Rainforest Circuit (from Carnley Ave)
2 km Circuit, 1 Hr

Moderate track
Black Duck Creek Circuit Walk
2.1 km Circuit, 1 Hr
Moderate track
Rod Earp Rain Forest Circuit (from Lookout Rd)
1.9 km Circuit, 1 Hr

Moderate track
Blackbutt Explorer
6 km Circuit, 2 hrs 30 mins

Moderate track
Richley Reserve Circuit
731 m Circuit, 30 mins
Very easy
Blackbutt Circuit Walk
6.5 km Circuit, 2 hrs 30 mins
Moderate track
Tall Trees Circuit Walk
2.8 km Circuit, 1 hr 15 mins
Moderate track
Richley Reserve to Carnley Reserve Circuit
2.9 km Circuit, 1 hr 15 mins
Moderate track
Forestway Circuit Walk
2.7 km Circuit, 1 Hr

Moderate track
Awabakal Coastal Walk
1.9 km One way, 45 mins

Hard track
Plan your trip to and from the walk here
The Charlestown Park trackhead to Newcastle station walk starts at the Charlestown Park (gps: -32.967837, 151.69429)
The Charlestown Park trackhead to Newcastle station ends at the Newcastle Train Station (gps: -32.926826, 151.78471)
Weather Forecast
This walk starts in the Hunter weather district.
Current Alerts
Park Information
Glenrock State Conservation Area
Comments
Short URL: http://wild.tl/1f