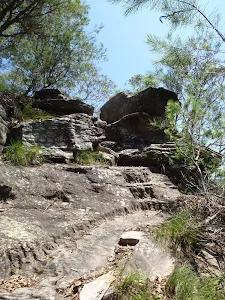
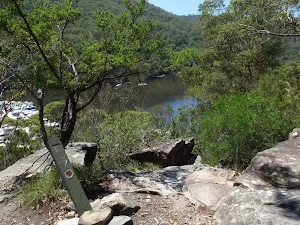
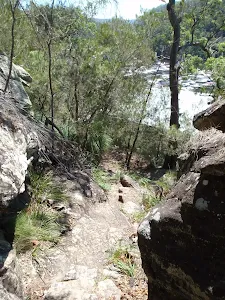
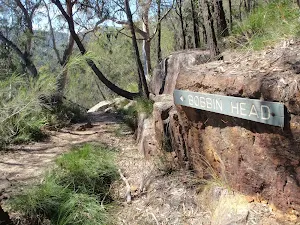
Sphinx, Warrimoo and Bobbin Head tracks
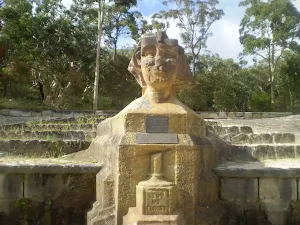
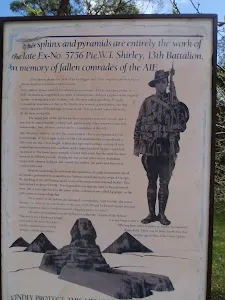
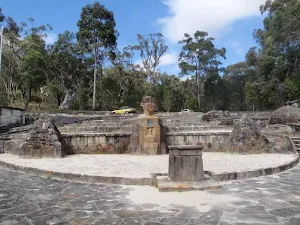


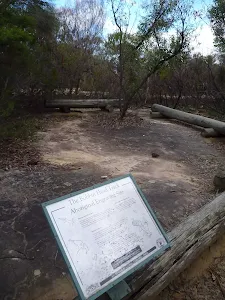
Sphinx Memorial
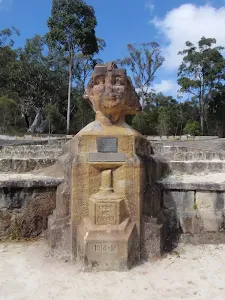
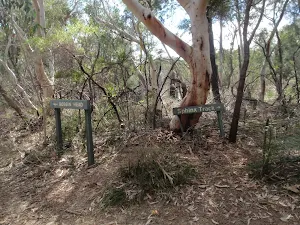
(0km) Sphinx Memorial → Int of Sphinx Memorial Track and Sphinx fire trail
(0km) Int of Sphinx Memorial Track and Sphinx service trail → Int of Sphinx walking Track and Service trail
(0km) Int of Sphinx walking Track and management trail → Int of Sphinx walking and Warrimoo Tracks
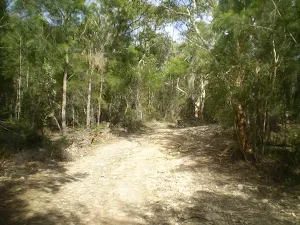
(1km) Int of Sphinx walking and Warrimoo Tracks → Int of Warrimoo and Bobbin Head Tracks
(5km) Int of Warrimoo and Bobbin Head Tracks → Empire Marina
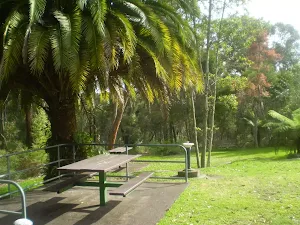
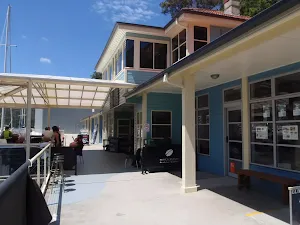
Empire Marina - Galley Foods cafe
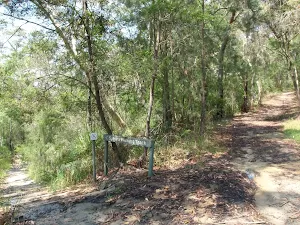
(5km) Int of Warrimoo and Bobbin Head Tracks → int. near gate on Bobbin Head trail
(5km) int. near gate on Bobbin head trail → Water Tank
(6km) Water Tank → Bobbin Head Track Aboriginal Engraving Site
Bobbin Head Track Aboriginal Engraving Site
(8km) Bobbin Head Track Aboriginal Engraving Site → Int of Bobbin Head and Sphinx service tracks
(9km) Int of Bobbin Head and Sphinx service tracks → Int of Sphinx Memorial Track and Sphinx service trail
(10km) Int of Sphinx Memorial Track and Sphinx fire trail → Sphinx Memorial
Maps for the Sphinx, Warrimoo and Bobbin Head tracks walk
You can download the PDF for this walk to print a map.
These maps below cover the walk and the wider area around the walk, they are worth carrying for safety reasons.
| Hornsby | 1:25 000 Map Series | 91304S HORNSBY | NSW-91304S |
| Ku-ring-gai Chase National Park Tourist Map | 1:40 000 Map Series | CMA Ku-ring-gai Chase National Park Tourist Map | CMA Ku-ring-gai Chase National Park Tourist Map |
| Sydney | 1:100 000 Map Series | 9130 SYDNEY | 9130 |
Cross sectional view of the Sphinx, Warrimoo and Bobbin Head tracks bushwalking track
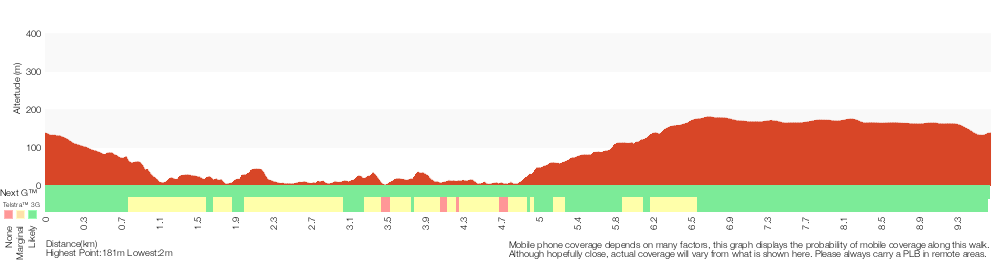
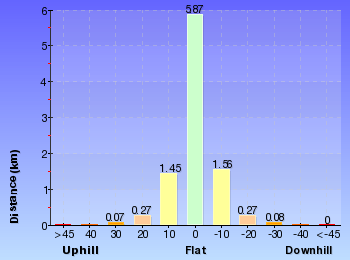
Analysis and summary of the altitude variation on the Sphinx, Warrimoo and Bobbin Head tracks
Overview of this walks grade – based on the AS 2156.1 – 2001
Under this standard, a walk is graded based on the most difficult section of the walk.
| Length | 9.6 km | ||
| Time | 4 hrs | ||
| . | |||
Grade 3/6 Moderate track | AS 2156.1 | Gradient | Short steep hills (3/6) |
| Quality of track | Formed track, with some branches and other obstacles (3/6) | ||
| Signs | Directional signs along the way (3/6) | ||
| Experience Required | Some bushwalking experience recommended (3/6) | ||
| Weather | Storms may impact on navigation and safety (3/6) | ||
| Infrastructure | Limited facilities, not all cliffs are fenced (3/6) |
Some more details of this walks Grading
Here is a bit more details explaining grading looking at sections of the walk
Gradient
6km of this walk has short steep hills and another 3.2km has gentle hills with occasional steps. The remaining (About 10m) is flat with no steps.
Quality of track
5km of this walk follows a formed track, with some branches and other obstacles and another 4.2km follows a clear and well formed track or trail. The remaining (480m) follows a smooth and hardened path.
Signs
Around 6km of this walk has directional signs at most intersection, whilst the remaining 3.2km is clearly signposted.
Experience Required
Around 6km of this walk requires some bushwalking experience, whilst the remaining 3.4km requires no previous bushwalking experience.
weather
Around 4.8km of this walk is not usually affected by severe weather events (that would unexpectedly impact safety and navigation), whilst the remaining 4.8km is affected by storms that may impact your navigation and safety.
Infrastructure
Around 6km of this walk has limited facilities (such as not all cliffs fenced), whilst the remaining 3.2km is close to useful facilities (such as fenced cliffs and seats).
Similar walks
A list of walks that share part of the track with the Sphinx, Warrimoo and Bobbin Head tracks walk.
Warrimoo Track to the Sphinx
3.4 km One way, 1 hr 30 mins
Moderate track
Bobbin Head track
5 km One way, 1 hr 45 mins
Moderate track
Warrimoo Track to Bobbin Head
6.2 km One way, 2 hrs 45 mins

Moderate track
Darri and Warrimoo to the Sphinx Memorial
6.6 km One way, 2 hrs 45 mins
Moderate track
Darri and Warrimoo Tracks to Bobbin head
9.4 km One way, 4 hrs 15 mins
Moderate track
Sphinx to Mt Kuring-gai
10.7 km One way, 4 hrs 45 mins
Hard track
Sphinx War Memorial to Mt Kuring-gai Station
11 km One way, 4 hrs 30 mins
Hard track
Bobbin Head Loop
12.9 km Circuit, 5 hrs
Hard track
Darri and Warrimoo Tracks to Mt Kuring-gai
14.6 km One way, 6 hrs 30 mins
Hard track
Other Nearby walks
A list of walks that start near the Sphinx, Warrimoo and Bobbin Head tracks walk.
Gibberagong Track
6.5 km One way, 2 hrs 30 mins
Hard track
Bobbin Head Boardwalk
552 m Return, 15 mins

Very easy
Bobbin Head Rainforest walk
1.6 km Return, 40 mins
Moderate track
Kalkari and Birrawanna Loop Tracks
5.2 km Circuit, 2 hrs 15 mins
Hard track
Kalkari Discovery trail
798 m Circuit, 30 mins
Very easy
Birrawanna Track
4.4 km Return, 2 hrs
Moderate track
Cockle Creek Lookout Return
1.1 km Return, 1 Hr
Hard track
Bobbin Head to Mt Kuring-gai via Apple Tree Bay
5.3 km One way, 2 hrs 30 mins
Hard track
Clarinda St dog walking trail
499 m One way, 15 mins
Easy track
Duffy's Track and Slade Lookout
2.5 km Return, 1 hr 30 mins

Moderate track

Darri Track
4.2 km One way, 1 hr 45 mins
Moderate track
Plan your trip to and from the walk here
The Sphinx, Warrimoo and Bobbin Head tracks walk starts and ends at the Sphinx Memorial (gps: -33.688678, 151.15581)
Weather Forecast
This walk starts in the Metropolitan weather district.
Current Alerts
Park Information
Ku-ring-gai Chase National Park
A largely untouched wilderness on the northern boundary of Sydney, Ku-ring-gai Chase NP is one of Australia's oldest national parks. Here at the head of the Hawkesbury River, you'll find Aboriginal engravings and sites, as well as sandstone escarpments,
Comments
Short URL: http://wild.tl/swbh