Eastwood to Thornleigh
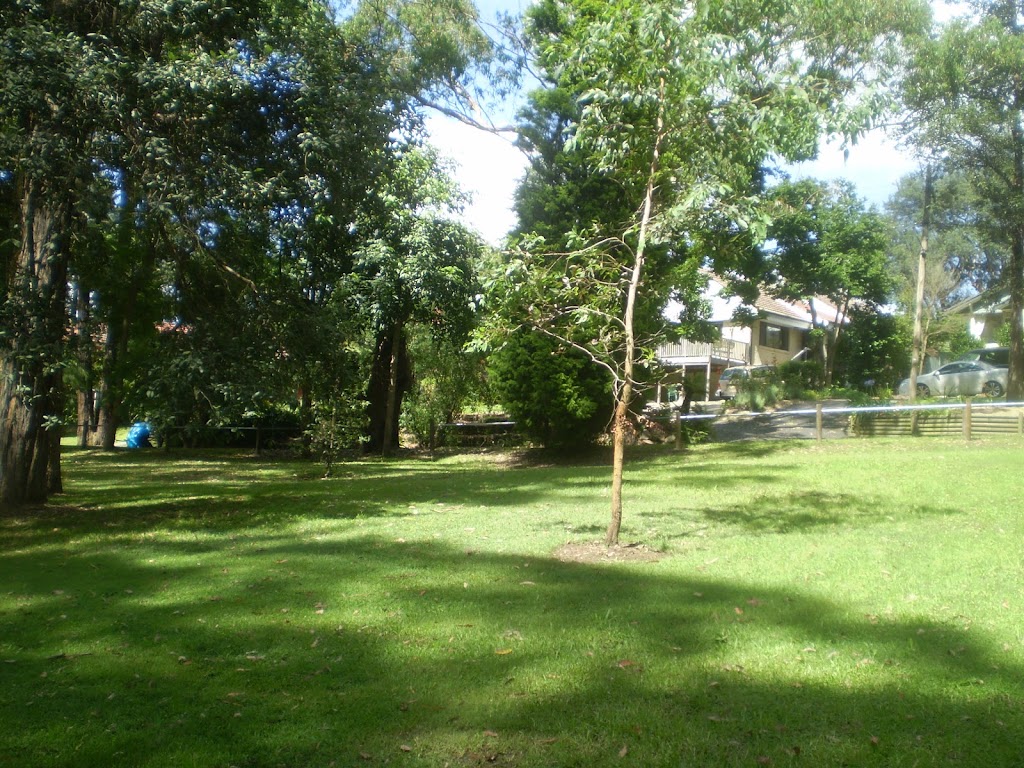

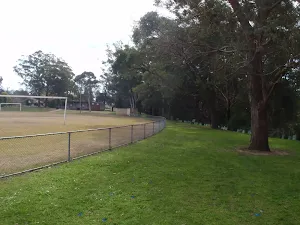
(0km) Eastwood Railway Station → Forrester Park
(1km) Forrester Park → Int of Eastwood station and waterfall loop tracks
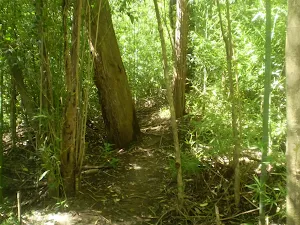
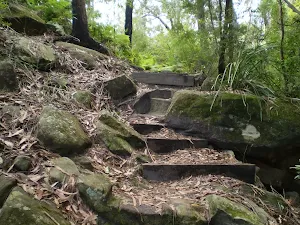
Continue straight: From the intersection the track follows the bushtrack down stream past the short rock wall and up a small rocky hill, through a few grass trees and down the other side coming to the un signposted intersection of the waterfall loop track.
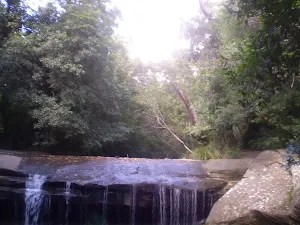
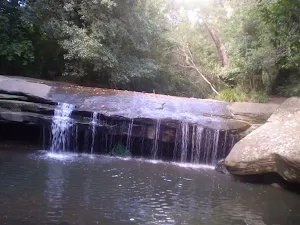
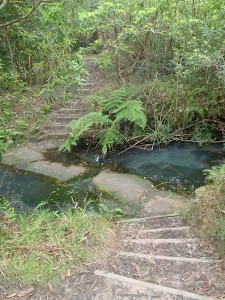
(2km) Int of Eastwood station and waterfall loop tracks → Terrys Creek Waterfall
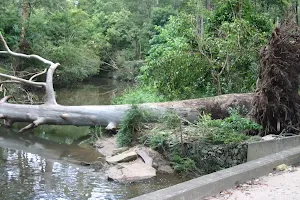
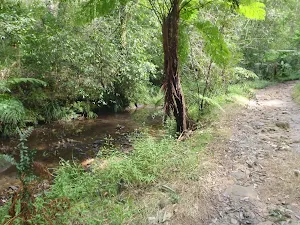
Terrys Creek Waterfall
(2km) Int of Eastwood station and waterfall loop tracks → Int of Eastwood station and Dence park tracks
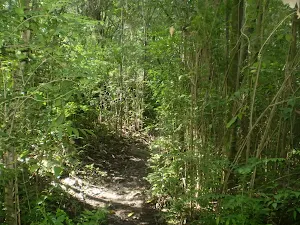
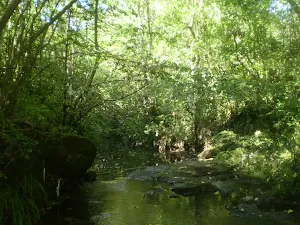
Turn left: From the intersection the track follows the bushtrack heading down stream and along side Terrys creek, winding through the bush and through a thick patch of bamboo, coming out the other side and along the creek for a short while to the intersection of the Browns Waterhole and Dence park tracks.
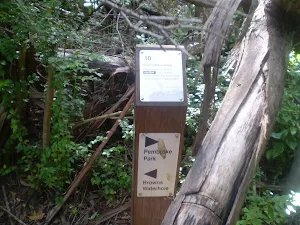
(2km) Int of Eastwood station and Dence park tracks → Int of Eastwood station and Pembroke park tracks
(2km) Int of Eastwood station and Pembroke park tracks → Int of Eastwood Station and Rest area tracks
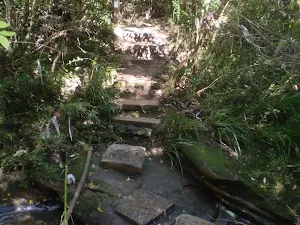
Continue straight: From the intersection the track follows the bushtrack heading north along the right hand side of the creek, passing the number 12 signpost and a sewage access point as it heads through the bush to the intersection of the rest area and Terrys creek steps.
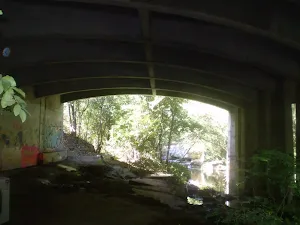
(3km) Int of Eastwood Station and Rest area tracks → Int of Eastwood Station and Epping road track
Veer right: From the intersection the track heads under the Epping road bridge on the right side of the creek and onto the bushtrack which winds up the gentle hill to the intersection of the Epping Road bushtrack.
(3km) Int of Eastwood Station and Epping road track → Signpost 16 int
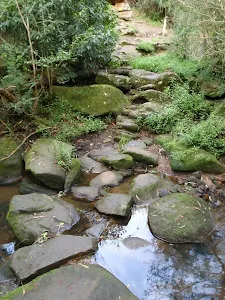
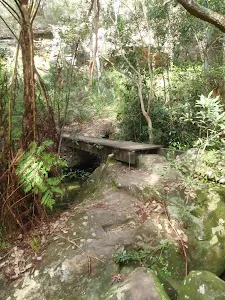
Continue straight: From the intersection the track follows the bush track north east along the bushtrack winding along the creek and down across a wooden bridge continuing up and along through the bush to the intersection of the Browns Waterhole bushtrack.
Veer right: From the intersection the track heads north down the short hill and past a sewage access point, winding along the creek to the intersection of the Browns Waterhole bushtrack.
Continue straight: From the intersection the track follows the bushtrack north passing a sewage access point and continuing through the bush as the track winds along the right hand side of the creek, passing 2 more sewage access points along the track before coming to the signposted intersection of the Browns Waterhole track.
(4km) Signpost 16 int → Signpost 18 int
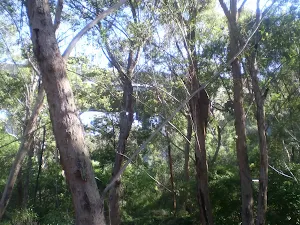
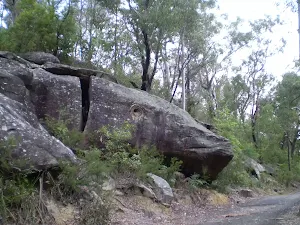
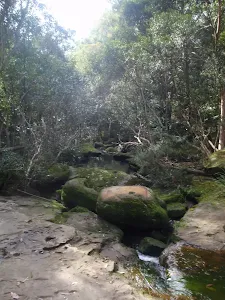
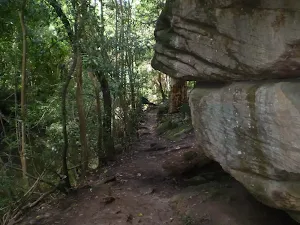
Continue straight: From the intersection the track follows the Browns Waterhole arrow through the bush, winding all the way through the bush as it winds around to a rock platform with views of the M2 motorway bridge and continues through the bush for a short while to the signposted intersection of the Browns Waterhole track.
(4km) Signpost 18 int → Int of Terry's Creek Walking Track and Brown's Waterhole Servicetrail
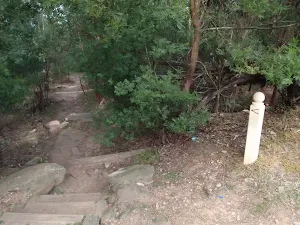
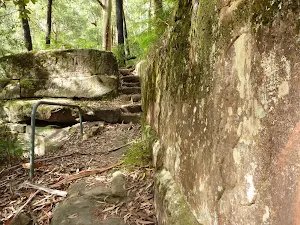
Turn left: From the intersection the track follows the Browns Waterhole arrow north along the bushtrack crossing underneath the M2 moter way and continuing along, down some steps and through to the intersection of a bushtrack winding down across the creek.
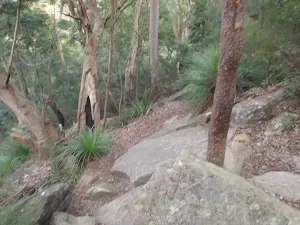
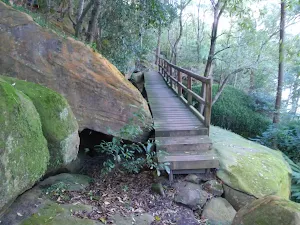
Continue straight: From the intersection the track heads north east away from the M2 overpass, following the bushtrack through the valley as it winds down some wooden steps and joins onto a metal walkway which continues through dense bushland until joining back onto a dirt track and continues all the way along to the intersection of the Browns Waterhole track.
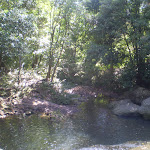
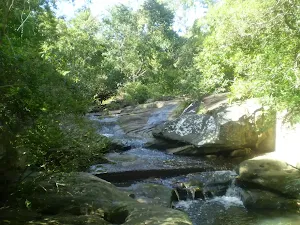
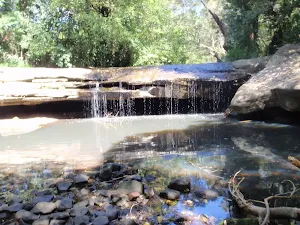
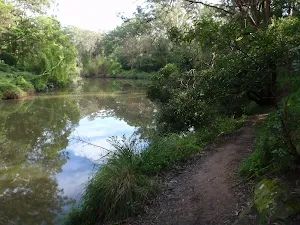
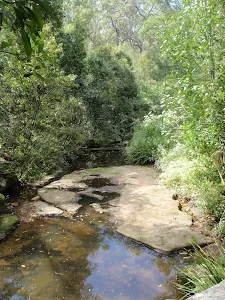
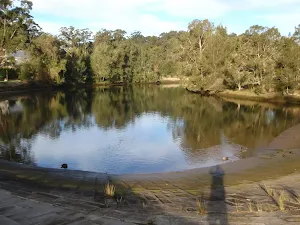
(5km) Int of Terry's Creek Walking Track and Brown's Waterhole Servicetrail → Browns Waterhole
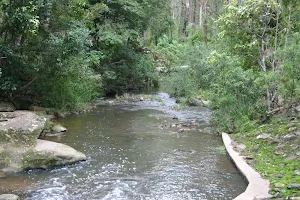
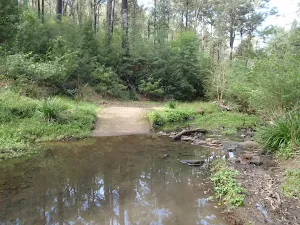
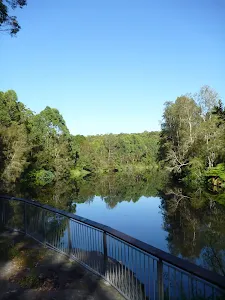
Browns Waterhole
(5km) Browns Waterhole → Browns Waterhole int
(5km) Browns Waterhole int → Int of the GNW and the Morona Ave trail
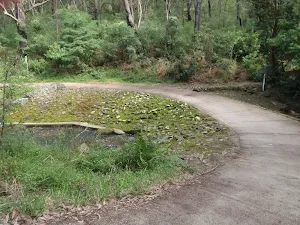
Veer left: From the intersection, this walk follows the GNW arrow post[8] downhill along the management trail for about 30m to cross a small culverted creek[9]. The walk then follows the trail up the short hill to come to an intersection with the signposted 'STEP track'[10][11] (on your right).
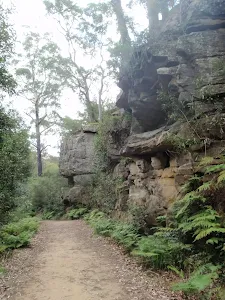
Continue straight: From the intersection, this walk follows the GNW arrow post[12] and STEP Track markers[13] along the management trail, whilst keeping the river to your left. The trail undulates through the valley (weedy in places[14]) and tall forest[15] for just shy of 600m, to come to a clear intersection at the bottom of a sealed management trail[16] (on your right). This intersection is marked with another 'STEP Track' map/sign[17] and a 'The Great North Walk' sign[18].
Veer left: From the intersection, the walk follows the 'The Great North Walk' sign gently downhill along the management trail, directly away from the face of the 'STEP Track' map/sign[19]. Keeping the river to your left, the trail leads downhill for about 80m to come to a Y-intersection[20], where there is a 'Lane Cove Valley' map/sign[21] and a 'Lane Cove River Park' sign[22] pointing back along the trail.
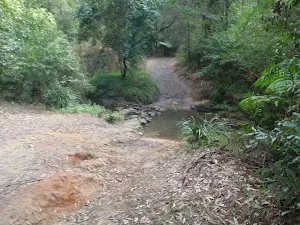
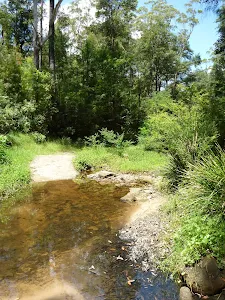
Veer right: From the intersection, this walk follows the 'Thornleigh Station' sign[23] past the 'Lane Cove Valley' map, initially keeping the other trail and river to your left. The trail follows the valley floor, keeping the river just to your left, for a bit over 500m, to then cross the Lane Cove River at a rocky ford[24]. This crossing may become impassable after heavy or prolonged rain. On the other side of the river, this walk continues along the trail[25] for about 400m (with the river now close by on your right) to come to an intersection with a faint track[26] (on your left, that leads up towards Pennant Hills Park).
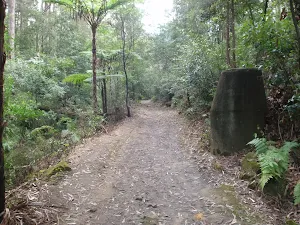
Continue straight: From the intersection, the walk follows the management trail, keeping the river just to your right. After about 60m, the trail bends right and crosses the Lane Cove River at a rocky ford[27], then continues along the valley floor among the fern trees (and concrete pipe access points[28]) for about 900m to cross the Lane Cove River again at another rocky ford[29]. (These crossings may become impassable after heavy or prolonged rain). The trail then continues along the valley floor[30] (with the river now on your left) for just over 150m to come to an intersection at the bottom of the sealed Morona Ave trail[31] (on your right), marked with a 'Lane Cove Valley' map/sign[32] and a GNW arrow post[33].
(8km) Int of the GNW and the Morona Ave trail → Conscript Pass
Conscript Pass
(9km) Conscript Pass → Int of the GNW and Lorna Pass tracks
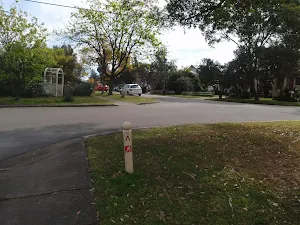
(9km) Int of the GNW and Lorna Pass tracks → Int of Handley and Ferguson Avenues
Veer right: From the intersection, this walk follows the GNW arrow post and 'Thornleigh Station' sign[55] uphill along the wide rocky track[56]. After just over 150m, the track bends left (ignoring a faint track on your right[57]) and heads uphill for another 40m to come to the back (south-east corner) of Thornleigh Oval[58], marked with a 'Lane Cove National Park' signpost[59].
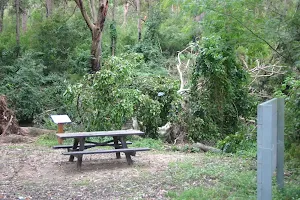
Turn right: From the intersection, this walk follows the GNW arrow post along the fence line around the oval, keeping the oval to your left. After about 100m, this walk passes in front of the clubhouse[60] (there are toilets[61] and a water tap[62] on your right) to pass a 'Great North Walk' sign[63] and come to the corner of 'Handley' and 'Ferguson' Avenues[64] in front of the 'Thornleigh Oval' sign[65].
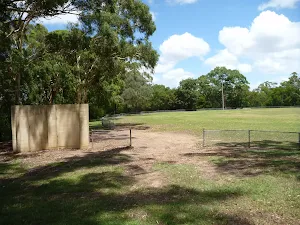
Thornleigh Oval
(9km) Int of Handley and Ferguson Avenues → Thornleigh Train Station
Veer left: From the base of the steps, this walk follows the GNW arrow across 'Railway Pde'[79], heading towards the train line. At the fence, this walk veers left and leads along the pedestrian alley[80] for about 60m before turning right and climbing up the railway bridge steps[81], coming to the 'Thornleigh' Train Station[82].
Maps for the Eastwood to Thornleigh walk
You can download the PDF for this walk to print a map.
These maps below cover the walk and the wider area around the walk, they are worth carrying for safety reasons.
| Hornsby | 1:25 000 Map Series | 91304S HORNSBY | NSW-91304S |
| Parramatta River | 1:25 000 Map Series | 91303N PARRAMATTA RIVER | NSW-91303N |
| Sydney | 1:100 000 Map Series | 9130 SYDNEY | 9130 |
Cross sectional view of the Eastwood to Thornleigh bushwalking track
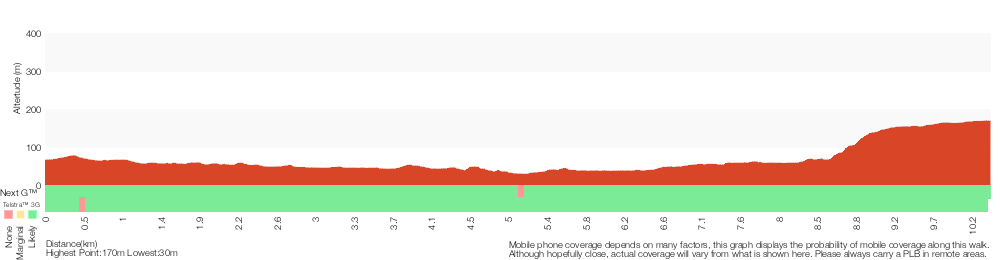
Analysis and summary of the altitude variation on the Eastwood to Thornleigh
Overview of this walks grade – based on the AS 2156.1 – 2001
Under this standard, a walk is graded based on the most difficult section of the walk.
| Length | 10.3 km | ||
| Time | 3 hrs 45 mins | ||
| . | |||
Grade 4/6 Hard track | AS 2156.1 | Gradient | Very steep (4/6) |
| Quality of track | Formed track, with some branches and other obstacles (3/6) | ||
| Signs | Directional signs along the way (3/6) | ||
| Experience Required | Some bushwalking experience recommended (3/6) | ||
| Weather | Storms may impact on navigation and safety (3/6) | ||
| Infrastructure | Limited facilities, not all cliffs are fenced (3/6) |
Some more details of this walks Grading
Here is a bit more details explaining grading looking at sections of the walk
Gradient
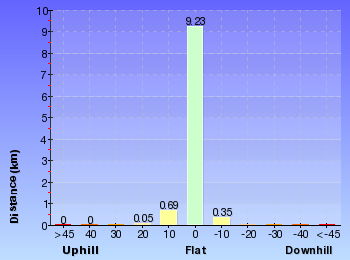
8km of this walk has gentle hills with occasional steps and another 1.1km is flat with no steps. Whilst another 630m has short steep hills and the remaining 230m is very steep.
Quality of track
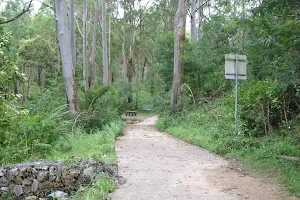
4.4km of this walk follows a formed track, with some branches and other obstacles and another 3.6km follows a clear and well formed track or trail. The remaining (2.3km) follows a smooth and hardened path.
Signs
Around 8km of this walk is clearly signposted, whilst the remaining 2.5km has directional signs at most intersection.
Experience Required
Around 6km of this walk requires no previous bushwalking experience, whilst the remaining 4.6km requires some bushwalking experience.
weather
Around 8km of this walk is not usually affected by severe weather events (that would unexpectedly impact safety and navigation), whilst the remaining 2.5km is affected by storms that may impact your navigation and safety.
Infrastructure
Around 5km of this walk is close to useful facilities (such as fenced cliffs and seats), whilst the remaining 4.9km has limited facilities (such as not all cliffs fenced).
Similar walks
A list of walks that share part of the track with the Eastwood to Thornleigh walk.
Browns Waterhole Track
1.3 km One way, 30 mins
Moderate track
STEP Track
2.7 km Circuit, 1 Hr
Moderate track
Canoon Rd to Whale Rock
3.2 km Return, 1 hr 30 mins
Moderate track
Epping to Eastwood Station (via Terrys Creek)
4.1 km One way, 1 hr 30 mins
Moderate track
Vimeira Rd to De Burghs Bridge
5.1 km One way, 2 hrs
Hard track
Thornleigh to Marsfield
6.1 km One way, 2 hrs 30 mins
Hard track
Epping to Thornleigh Station
8 km One way, 3 hrs
Hard track
Epping to Pennant Hills Station (via Lane Cove River)
8.4 km One way, 3 hrs 15 mins
Hard track
Epping Station Lane Cove River Loop
8.4 km Circuit, 3 hrs

Moderate track
De Burgs Bridge to Thornleigh station
9.7 km One way, 3 hrs 45 mins
Hard track
Epping to Eastwood Station (via Lane Cove River)
10.2 km One way, 3 hrs 45 mins
Moderate track
Macquarie Park to Thornleigh
11.6 km One way, 4 hrs 30 mins
Hard track
Epping to Gordon Station
11.7 km One way, 4 hrs 15 mins
Hard track
Chatswood to Epping Station
16.3 km One way, 6 hrs
Hard track
Epping to Hornsby Station
17.5 km One way, 6 hrs 45 mins
Hard track
Chatswood Station to Eastwood Station
18.1 km One way, 6 hrs 45 mins
Hard track
Eastwood to Hornsby
20.6 km One way, 8 hrs
Hard track
Gordon to Hornsby (overnight at Scout camp)
25.8 km One way, 2 Days
Hard track
Sydney to Thornleigh via Lane Cove Tourist Park
33 km One way, 2 Days
Hard track
Circular Quay to Hornsby
44.4 km One way, 3 Days
Hard track
Other Nearby walks
A list of walks that start near the Eastwood to Thornleigh walk.
Epping to Cheltenham Station via Whale Rock
6.8 km One way, 2 hrs 30 mins
Hard track
Epping to Pennant Hills Station
5.3 km One way, 2 hrs
Moderate track
Lane Cove Tourist Park River Circuit
11.9 km Circuit, 5 hrs
Hard track
Lane Cove Tourist Park to Boat Shed
3.4 km Return, 1 hr 30 mins
Moderate track
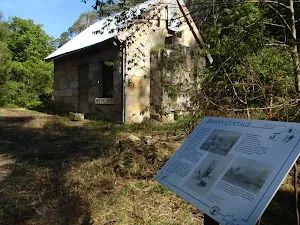
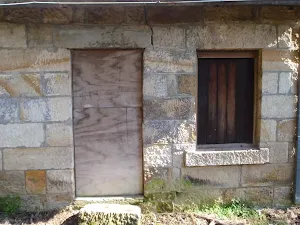
Lane Cove Tourist Park to Baker's Cottage
5.9 km Return, 2 hrs 30 mins
Moderate track
North Ryde Fairyland circuit
6.9 km Circuit, 2 hrs 30 mins
Hard track
Belinda Cres to Whale Rock
2.8 km Return, 1 Hr
Moderate track
Lane Cove National Park Heritage Walk
2.6 km One way, 1 Hr
Moderate track
Lane Cove Weir to Boat Shed
1.3 km Return, 1 Hr
Moderate track
Riverside Walk
5.3 km One way, 2 hrs
Hard track
Fiddens Wharf walking track
4.3 km Circuit, 1 hr 27 mins
Moderate track
Baker's Cottage
1.5 km Return, 45 mins
Moderate track
Plan your trip to and from the walk here
The Eastwood to Thornleigh walk starts at the Eastwood Railway Station (gps: -33.790145, 151.08226)
The Eastwood to Thornleigh ends at the Thornleigh Train Station (gps: -33.731948, 151.07815)
Weather Forecast
This walk starts in the Metropolitan weather district.
Current Alerts
Park Information
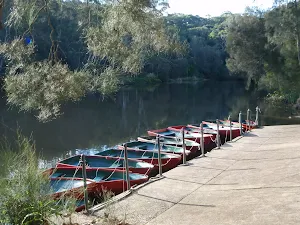
Lane Cove National Park
This small but picturesque city park is a haven of peaceful bushland along the winding Lane Cove River. Home to the Kukundi Wildlife Shelter and 27 km of the Great North Walk, you can also hire a boat, take a stroll or enjoy a picnic by the weir.
Bradley Reserve
Bradley Reserve is a large natural bushland area owned and managed by Ku-ring-gai council. The reserve extends from Lane Cove River to the end of Kissing Point Road north to George Christie playing fields. The reserve is home to the locally well know STEP track, and is cared for by the STEP inc, the "South Turramurra Environment Protection". The Great north walk also heads through this reserve, and is also home to Browns water hole.
Berowra Valley National Park
Following the Berowra Creek the Berowra Valley National Park is located on the Hornsby Plateau and is made up of typical Hawkesbury Sandstone. The great North walk, Benowie walking track, and many other great walks stretch spann this park. The area has varied vegetation including many different sorts of Eucalyptus and plenty of native animals, includingl swamp wallibies, water dragons, bandicoots, Lyre Birds, and bush turkeys. There are several campsites within the Park, and Crosslands Reserve is also a popular spot near the middle of the park.
Comments
Short URL: http://wild.tl/ett