Taronga Zoo to Spit Bridge

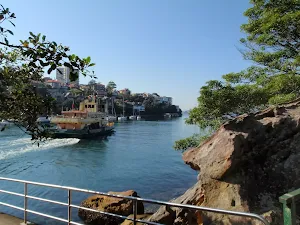
(0km) Taronga Zoo Wharf → Taronga Zoo Entrance
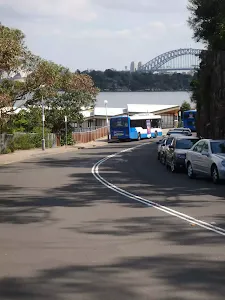
Taronga Zoo
(0km) Taronga Zoo Entrance → Int. Borogegal Walking Trail and Athol Hall Trk
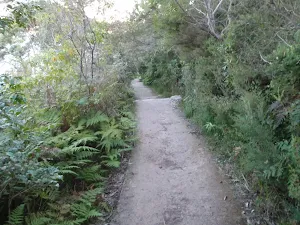
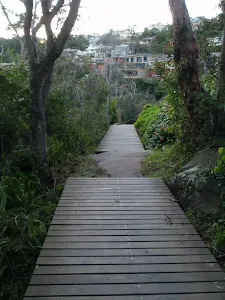
Veer right: From the intersection, the walk heads down the stairs then continues along the hill for a short time. The walk descends more stairs to a signposted intersection.
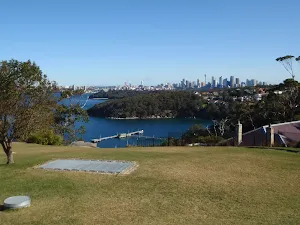
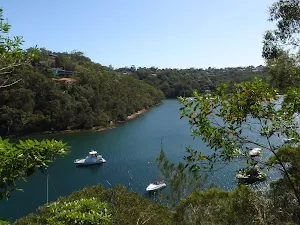
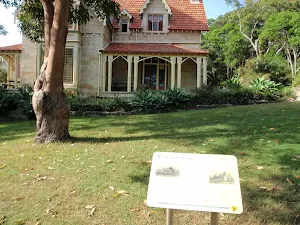
Athol Hall
(1km) Int. Borogegal Walking Trail and Athol Hall Trk → Int. Borogegal Walking Trail and Taylors Bay Lookout track
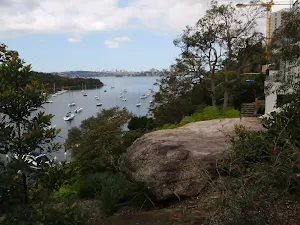
Turn left: From the entrance to Athol Hall, this walk heads up the hill, with the views of Sydney Harbour on the left. The walk continues up the road, where it crosses to the parking toll booth.
Continue straight: From the corner of Bradley Head Rd and the car park, this walk heads down the hill just behind the parking pay booth. The track meanders down the hill to a signposted intersection. Now Turn left to rejoin the main walk .
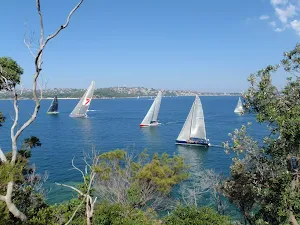
(1km) Int. Borogegal Walking Trail and Athol Hall Trk → HMAS Sydney Mast, Bradleys Head
Continue straight: From the intersection, this walk heads towards the car park, keeping the harbour to the right. The walk leads approximately 10m to the intersection with a track (leading down to Bradleys Head Amphitheatre).
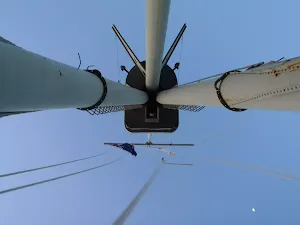
Veer left: From the intersection, this walk heads along the footpath next to the car park for a short distance, until it comes to be above the flag pole, HMAS Sydney Mast.
HMAS Sydney Memorial Mast
(1km) HMAS Sydney Mast, Bradleys Head → Int. Borogegal Walking Trail and Taylors Bay Lookout track
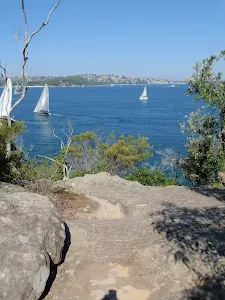
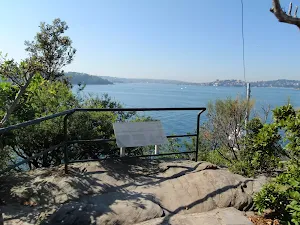
(2km) Int. Borogegal Walking Trail and Taylors Bay Lookout track → Taylors Bay Lookout
(2km) Int. Borogegal Walking Trail and Taylors Bay Lookout track → Bottom of the Iluka and Morella access track
Continue straight: From the intersection, the walk heads along the line of the houses, on the left, for approximately 140m. The track passes a Japanese Submarine information sign on the right as it continues along sections of boardwalk track, to the intersection next to the last house. The walk heads up the stairs below the last house to be met by a large sandstone staircase on the left and a track to the front.
(3km) Bottom of the Iluka and Morella access track → Chowder Head track intersection
(3km) Chowder Head track intersection → Chowder Head
Chowder Head
(3km) Chowder Head track intersection → Morella St lookout
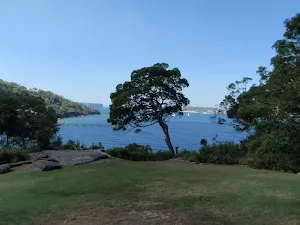
Veer left: From the intersection, this walk follows the main track keeping the water glimpses to your right (and the Morella Rd track to your left). The track gently works is way around the hill to come to a sign point back to 'Ashton Park' and a large clearing with good views behind some houses.
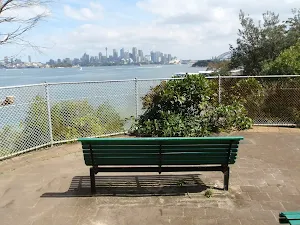
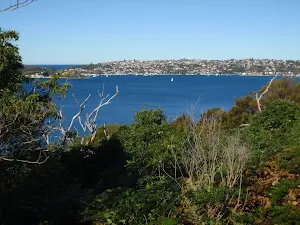
Morella St lookout
(4km) Morella St lookout → Bottom of Sarahs walk steps
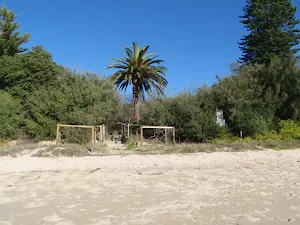
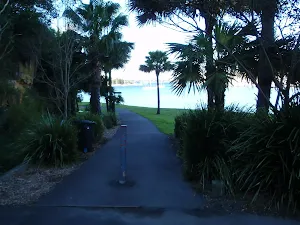
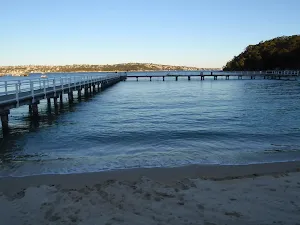
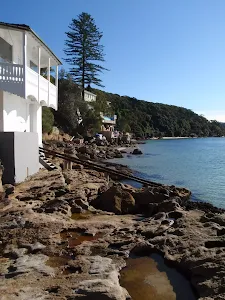
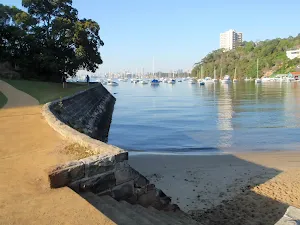
(4km) Bottom of Sarahs walk steps → Clifton Gardens baths
Turn right: From the intersection, this walk heads down onto the beach, towards the wharf in the middle of the beach. The walk passes an Illawarra Flame tree, as it heads approximately 100m along the beach to the start of the wharf.
Clifton Gardens Reserve
(4km) Clifton Gardens Baths → Chowder Bay Lower Gate
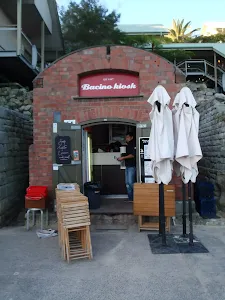
Bacino Kiosk
(4km) Chowder Bay Lower Gate → Roundabout at end of Chowder Bay Road
Turn left: From the wharf, this walk heads directly away from that wharf, heading up the stairs. At the top of the stairs, this walk follows the footpath right, around a flag pole and house on the left. The walk continues past a round-about, to the start of a car park, opposite Bacino Bar.
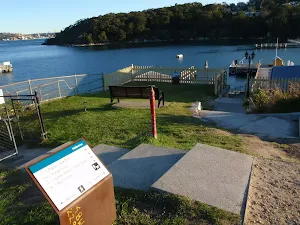
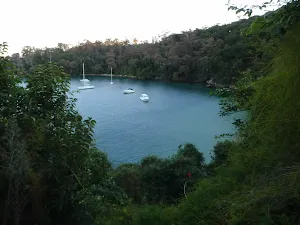
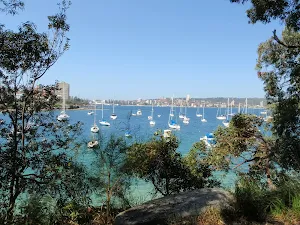
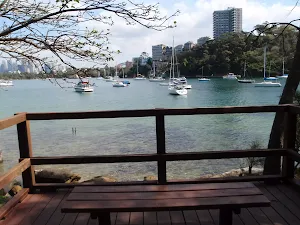
Chowder Bay
(4km) Roundabout at end of Chowder Bay Road → Int. Bacino Bar back deck and Chowder Bay Trk
(4km) Int. Bacino Bar back deck and Chowder Bay Trk → Bacino Bar
Bacino Cafe
(4km) Int. Bacino Bar back deck and Chowder Bay Trk → Georges Head Lookout
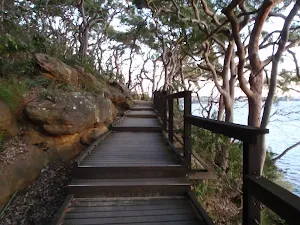
Turn right: From the intersection, this walk heads across the road to head up the bush track on the hill for approximately 50m, to the signposted intersection behind 'Georges Head Lookout'.
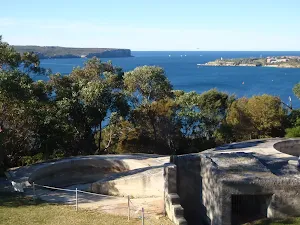
Turn right: From the intersection, this walk follows the sign to Georges Head Lookout, down the hill to the circular paved lookout above the fortifications.
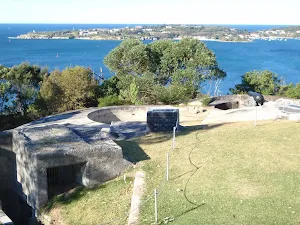
Georges Heights
(5km) Georges Head Lookout → Int. WW1 Hospital and Chowder Bay Trk
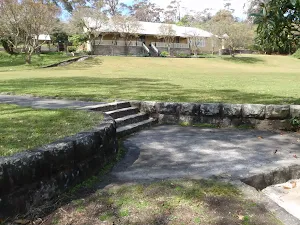
Turn right: From the intersection, this walk follows the signs to 'Balmoral Beach' up the hill for a short while. The track opens out to a clearing on the left which has some old structures in it. This is the World War 1 hospital.
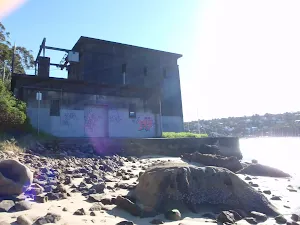
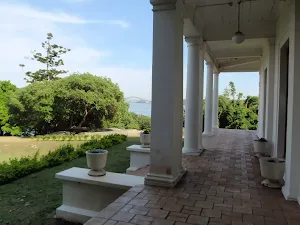
WW1 Hospital

(5km) Int. WW1 Hospital and Chowder Bay Trk → Rocky Point Bridge
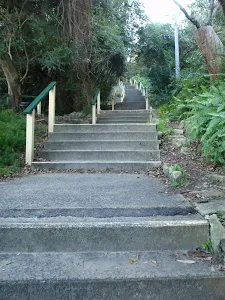
Continue straight: From the intersection, this walk follows the sign to 'Balmoral Beach' downhill away from the road. The walk heads down many flights of stairs and turns right, through a fence. The track then turns left to continue down more stairs, which lead the walk across a bridge and next to an oval with a signposted intersection.
Turn right: From the intersection, this walk heads toward the sea, keeping the oval to your left. The walk passes '1st Balmoral Sea Scouts' on the right before coming to the car park.
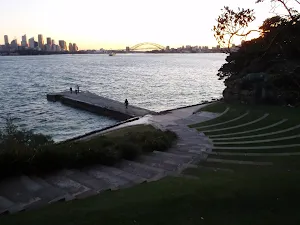
Continue straight: From Balmoral Park car park, this walk heads onto the beach and follows along it, past the pipe and wharf, then continues up the beach to then head up the stairs onto the bridge, connecting the small rocky island to the promenade above the beach.
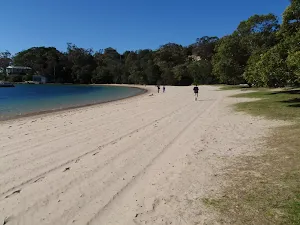
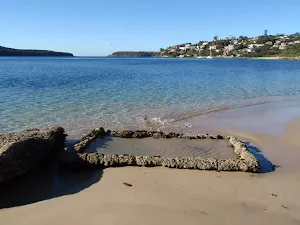
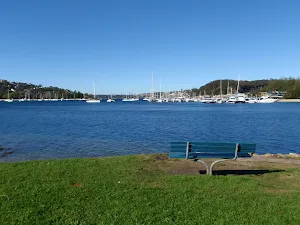
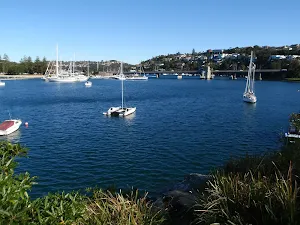
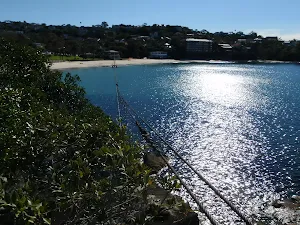
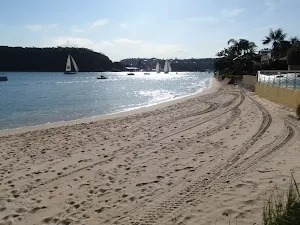
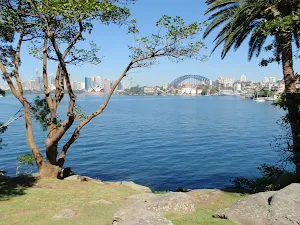
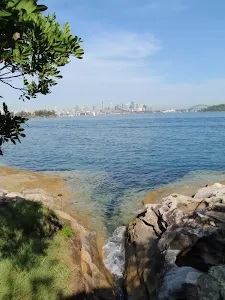
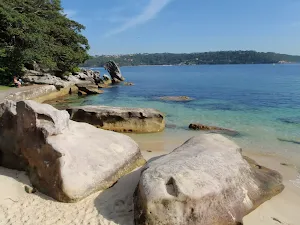
Balmoral Beach
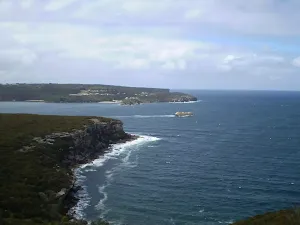
(7km) Rocky Point Bridge → Rocky Point
(7km) Rocky Point Bridge → Int. Wyargine Reserve Trk and Balmoral Beach
(7km) Int. Wyargine Reserve Trk and Balmoral Beach → Chinamans Beach Reserve South
Continue straight: From the intersection, this walk heads up the road following 'Stanton Rd' then 'Burran Ave' signs, to veer left onto Hopetoun Ave. The walk soon passes Kirk Oswald Ave (off to the left). After a while the road again splits into two levels, opposite the intersection of Armitage Rd.
Turn right: From the intersection, this walk heads down the hill, following the sign 'Armitage Lane' along the road, and around to the left into Rosherville Rd. The walk continues along the footpath, passing a large boulder and a bench on the right before winding down behind the playground in Rosherville Reserve. The track passes the playground, taking the closest access track to the southern end of Chinamans Beach. Now Turn sharp left to rejoin the main walk .
(7km) Int. Wyargine Reserve Trk and Balmoral Beach → Middle of Chinamans Beach
Turn right: From the end of the beach, this walk heads along the sand, keeping the water to the right, until near the middle of Chinamans Beach. A wood-railed track heads off to the toilet block on the left, marking the intersection.
Chinamans Beach and Reserve

(8km) Middle of Chinamans Beach → Int. Grecia Lane Trk and Chinamans Beach Reserve North
(8km) Int. Grecia Lane Trk and Chinamans Beach Reserve North → Int. Middle Harbour Yacht Club car park and Spit Rd
(8km) Int. Grecia Lane Trk and Chinamans Beach Reserve North → Middle Harbour Yacht Club entrance
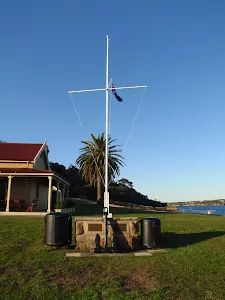
Spit Syphon
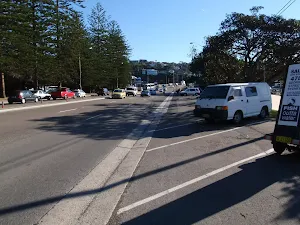
(9km) Middle Harbour Yacht Club entrance → Spit Bridge South
Turn right: From the intersection, this walk heads along Spit Rd towards the bridge, keeping the shops on your right. The walk heads along the road to where it splits, to go over the bridge, opposite 'Sydney Harbour Kayaks'.
Sydney Harbour Kayaks
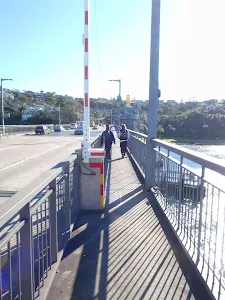
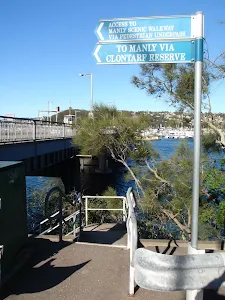
(10km) Spit Bridge South → Int. Spit Rd and Ellery's Punt Reserve Road
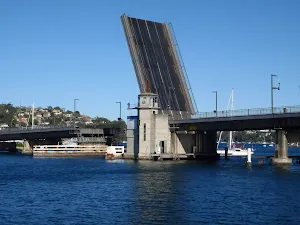
Spit Bridge
(10km) Int. Spit Rd and Ellery's Punt Reserve Road → Int. Ellery's Punt Reserve Rd and Manly Scenic Walkway
Veer right: From the intersection, this walk heads down the hill towards the water. The walk soon comes to Ellery's Punt Reserve car park on the right. This walk continues past this, down the footpath to the signposted intersection.
Ellery's Punt Reserve
(10km) Int. Ellery's Punt Reserve Rd and Manly Scenic Walkway → Int. Battle Boulevard and Manly Rd
Continue straight: From the end of the cul-de-sac, this walk follows Battle Bvd up the road to the car park just near the intersection with Manly Road.
Maps for the Taronga Zoo to Spit Bridge walk
You can download the PDF for this walk to print a map.
These maps below cover the walk and the wider area around the walk, they are worth carrying for safety reasons.
| Parramatta River | 1:25 000 Map Series | 91303N PARRAMATTA RIVER | NSW-91303N |
| Sydney Heads | 1:25 000 Map Series | 91302N SYDNEY HEADS | NSW-91302N |
| Sydney | 1:100 000 Map Series | 9130 SYDNEY | 9130 |
Cross sectional view of the Taronga Zoo to Spit Bridge bushwalking track
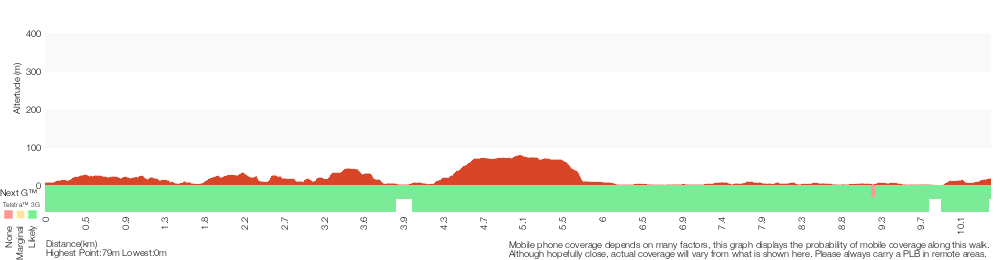
Analysis and summary of the altitude variation on the Taronga Zoo to Spit Bridge
Overview of this walks grade – based on the AS 2156.1 – 2001
Under this standard, a walk is graded based on the most difficult section of the walk.
| Length | 10.4 km | ||
| Time | 5 hrs | ||
| . | |||
Grade 4/6 Hard track | AS 2156.1 | Gradient | Very steep (4/6) |
| Quality of track | Rough track, where fallen trees and other obstacles are likely (4/6) | ||
| Signs | Minimal directional signs (4/6) | ||
| Experience Required | Moderate level of bushwalking experience recommended (4/6) | ||
| Weather | Storms may impact on navigation and safety (3/6) | ||
| Infrastructure | Limited facilities, not all cliffs are fenced (3/6) |
Some more details of this walks Grading
Here is a bit more details explaining grading looking at sections of the walk
Gradient
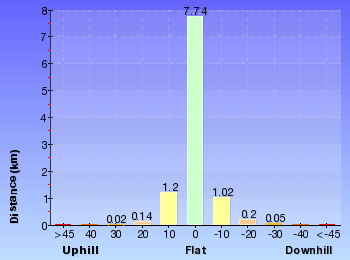
3.3km of this walk is flat with no steps and another 3.2km has gentle hills with occasional steps. Whilst another 2.1km is very steep and the remaining 1.9km has short steep hills.
Quality of track
4.1km of this walk follows a smooth and hardened path and another 3.1km follows a formed track, with some branches and other obstacles. Whilst another 1.7km follows a rough track, where fallen trees and other obstacles are likely and the remaining 1.5km follows a clear and well formed track or trail.
Signs
7km of this walk is clearly signposted and another 1.7km has directional signs at most intersection. The remaining (1.7km) has minimal directional signs.
Experience Required
Around 9km of this walk requires no previous bushwalking experience, whilst the remaining 1.7km requires a leader a with moderate level of bushwalking experience.
weather
Around 9km of this walk is not usually affected by severe weather events (that would unexpectedly impact safety and navigation), whilst the remaining 1.7km is affected by storms that may impact your navigation and safety.
Infrastructure
Around 8km of this walk is close to useful facilities (such as fenced cliffs and seats), whilst the remaining 2.6km has limited facilities (such as not all cliffs fenced).
Similar walks
A list of walks that share part of the track with the Taronga Zoo to Spit Bridge walk.
Georges Heights Lookout
144 m Return, 7 mins
Very easy
Chowder Head
548 m Circuit, 20 mins
Moderate track
Chowder Bay to Georges Heights Lookout
842 m Return, 30 mins
Moderate track
WW1 Hospital to Georges Heights Lookout
904 m Return, 30 mins
Easy track
Clifton Gardens to Georges Heights
1.7 km Return, 1 Hr
Moderate track
Bradleys Head Walk
1.7 km Circuit, 1 Hr

Moderate track
Bradleys Head to Chowder Bay walk
2.8 km One way, 1 hr 30 mins
Moderate track
Taronga Zoo, Bradleys Head to Athol Hall
3 km Circuit, 1 hr 30 mins
Moderate track
Spit Bridge to Fisher Bay
3.6 km Circuit, 1 hr 30 mins
Hard track
Bradleys Head and Chowder Head walk
3.7 km One way, 1 hr 45 mins
Moderate track
Balmoral to Middle Head Forts
3.9 km Circuit, 2 hrs
Hard track
Balmoral Beach to The Spit
4.3 km One way, 2 hrs 30 mins
Hard track
Taronga Wharf to Chowder Bay
4.4 km One way, 2 hrs
Moderate track
Chowder Bay to Middle Head return via Chowder Bay Rd
4.9 km Circuit, 2 hrs 30 mins
Moderate track
Spit Bridge to Middle Head Forts
6.1 km One way, 2 hrs 30 mins
Hard track
Taronga Zoo, Clifton Gardens return via Sirius Cove
6.5 km Circuit, 3 hrs 30 mins
Moderate track
Taronga Zoo to Balmoral Beach
6.8 km One way, 3 hrs
Hard track
Taronga Zoo to Chowder Bay return via Bradleys Head Rd
7 km Circuit, 3 hrs
Moderate track
Spit Bridge to North Harbour Reserve
8.7 km Circuit, 4 hrs
Moderate track
Spit Bridge to Manly (Manly Scenic Walkway)
9.1 km One way, 3 hrs 45 mins
Moderate track
Manly to Seaforth Oval
13.7 km One way, 5 hrs 45 mins
Moderate track
Taronga Zoo to Manly
18.9 km One way, 8 hrs
Hard track
Spit to Lindfield
22.6 km One way, 9 hrs 45 mins
Hard track
Other Nearby walks
A list of walks that start near the Taronga Zoo to Spit Bridge walk.
Taronga to Musgrave Wharf
1.7 km One way, 1 Hr
Moderate track
Taronga Zoo to Camp Curlew
930 m Return, 30 mins
Moderate track
Cremorne Point Circuit
2.7 km Circuit, 1 hr 15 mins
Easy track
Cremorne Point to Mosman Wharf
2 km One way, 45 mins
Easy track
Cremorne Point to Taronga Zoo
4.2 km One way, 1 hr 45 mins

Moderate track
Robertsons Point Lookout
478 m Return, 15 mins
Easy track
Harbour Bridge to Taronga Zoo
9.8 km One way, 4 hrs
Moderate track
Hermitage Foreshore Track
2.2 km One way, 1 Hr
Moderate track
History of Nielsen Park
896 m Return, 20 mins
Easy track
Mt Trefle
1.7 km Circuit, 40 mins
Easy track
Nielsen Park and Strickland House loop
2.5 km Circuit, 1 Hr
Moderate track
Nielsen Park Circuit
1.8 km Circuit, 40 mins
Easy track
Plan your trip to and from the walk here
The Taronga Zoo to Spit Bridge walk starts at the Taronga Zoo Wharf (gps: -33.845752, 151.23978)
The Taronga Zoo to Spit Bridge ends at the Int. Battle Boulevard and Manly Rd (gps: -33.800405, 151.24678)
Weather Forecast
This walk starts in the Metropolitan weather district.
Current Alerts
Park Information
Sydney Harbour National Park
One of Sydney's most diverse parks, Sydney Harbour National Park is formed from 11 pockets of harbour islands and shoreline. Highlights include coastal walks and swimming, breath-taking viewpoints, tours of colonial buildings and Aboriginal cave art.
Comments
Short URL: http://wild.tl/tztsb